Publish Settings
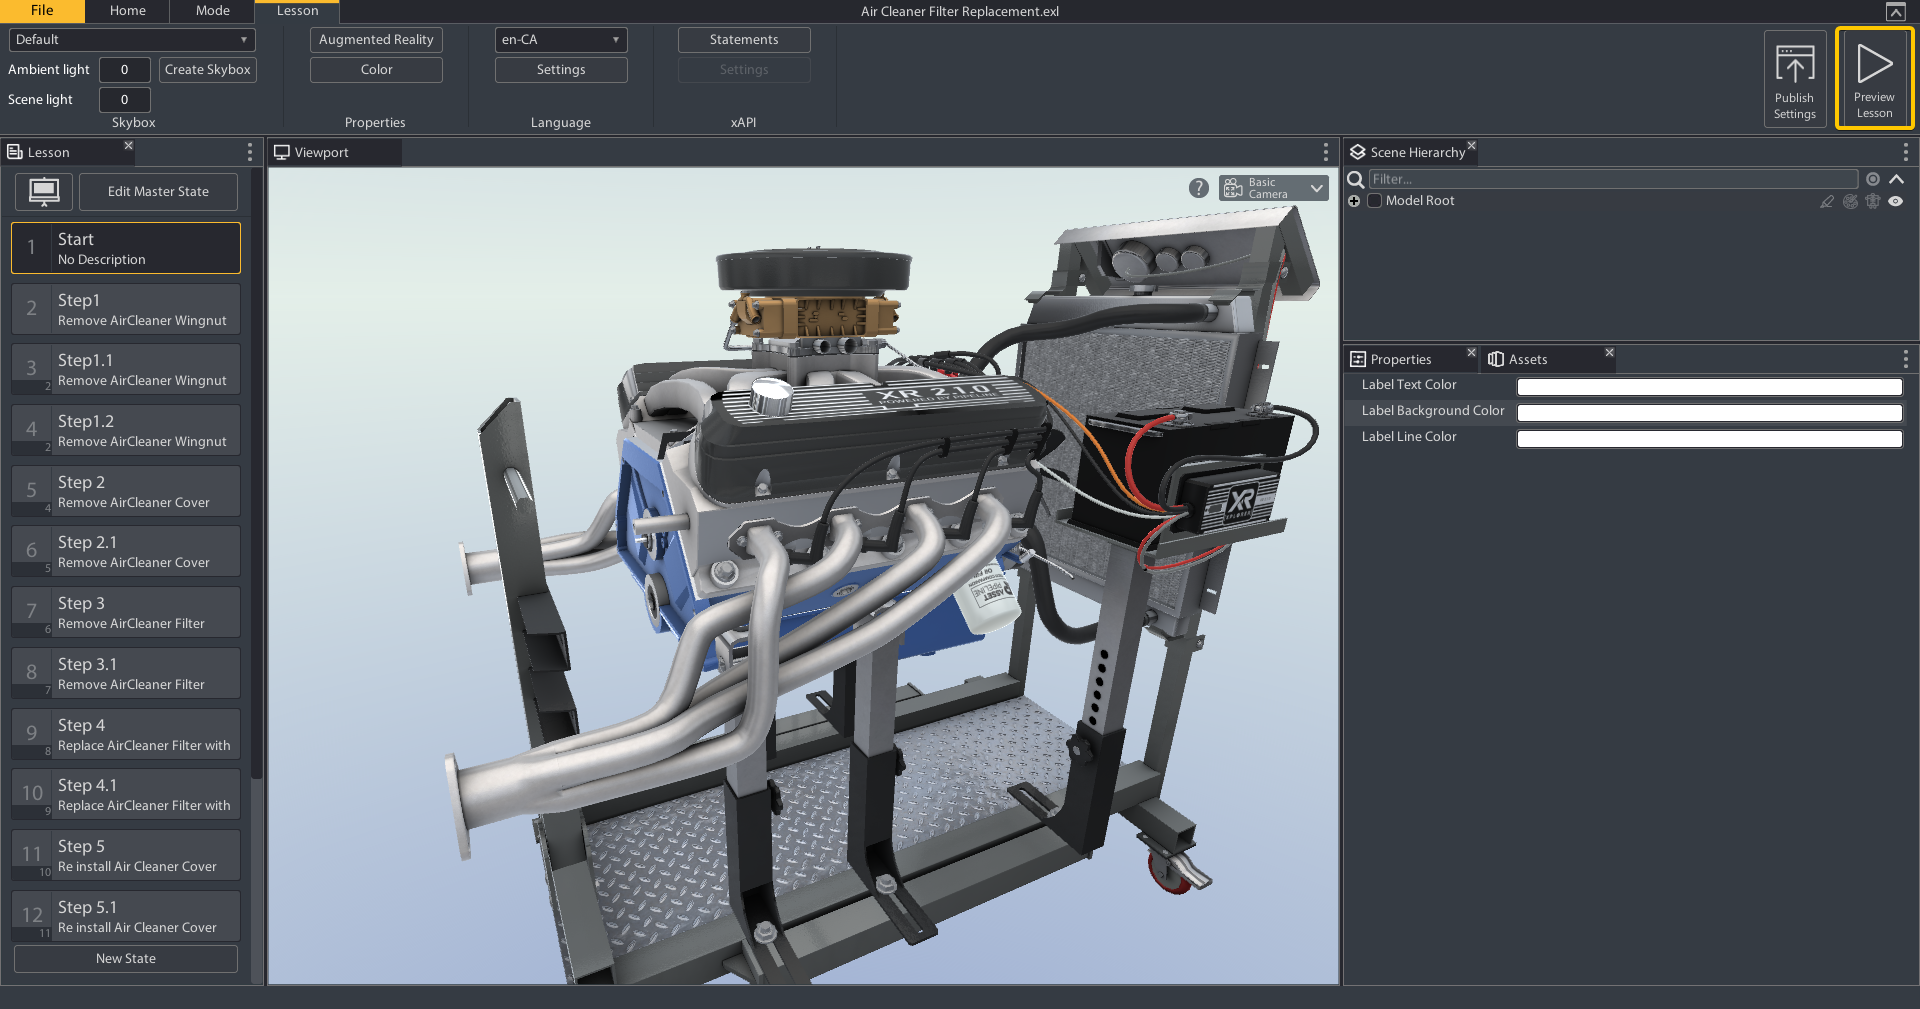
The Publish settings is always visible next to the play preview button in the ribbon no matter what tab you are on. It contains settings that will affect the published version of the lesson only.
Model Settings
The model settings allow you to set a specific model for each platform. This is especially important when you are creating multiplatform lessons for mobile devices. Most mobiles do not have the memory required to run the detailed model you would normally prefer for VR or PC. In the model settings we can decide which versions of the model will be used on different platforms.
Camera
This tab contains camera properties for the published lesson. These properties set the camera defaults for the lesson when it is viewed in the player.
- Default Input Type: This is the input type that will be used if multiple are available. You need to specify what camera type will be used if a device has a mouse and keyboard and can also take touch input.
- Standard Camera Type: Define what camera type will be used by default if the device's input type is mouse and keyboard
- Touch Camera Type: Define what camera type will be used by default if the device's input type is a touch screen
- Lock Camera Type: If this setting is on, then users will not be able to change their camera type within the player
- Camera Near Clip: How close to the object a user can get before it starts to clip in their view
- Camera Far Clip: How far from the object a user can get before it starts to clip from their view
Camera Types:
- Orbit Camera: A simple touch screen oriented camera type that features pinch to zoom and hold and drag, to pan and rotate around a focused object.
- Free Flight: An advanced mouse and keyboard camera type that allows users to move freely around the scene while holding the right-mouse button and moving with "WASD" keys
- On Screen Free Flight: An advanced touch screen oriented camera type that features two on screen joysticks for free movement around the scene
- First Person Camera: Same as free flight except the user is bound to a defined navigation area.
- On Screen First Person Camera: Same as on Screen free flight except the user is bound to a defined navigation area.
User Interface
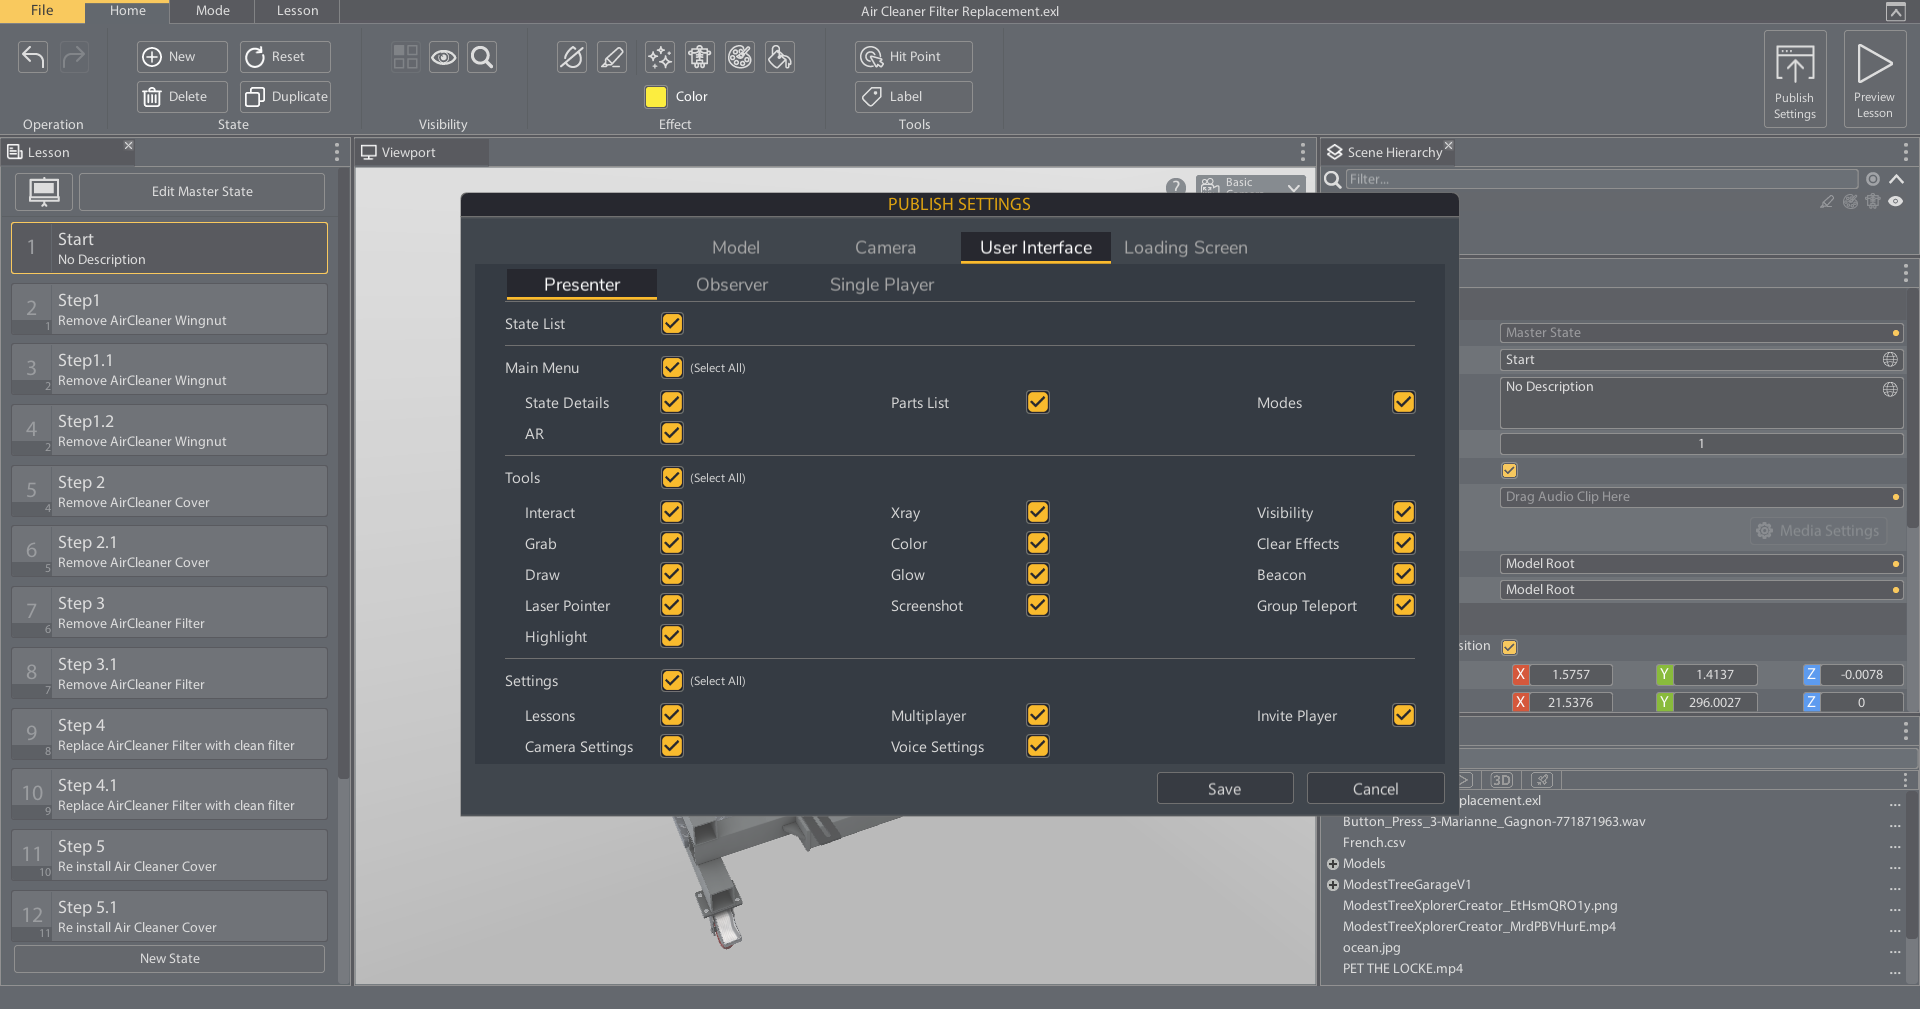
This tab allows the user to hide/show different sections of the player menu. You can customize the menu based on what mode (single player or multiplayer) or Role (Presenter or Observer).
If all the options of one section are turned off that whole section UI will be removed from the player view. For example, if all tools are turned off then there will be no tool selector UI. You can keep the presenter and single player settings in sync by using the "Same as Presenter" option under the Single Player section.

Loading Screen
This tab allows you to set a custom loading screen for when the user is loading between lessons.
Play Preview
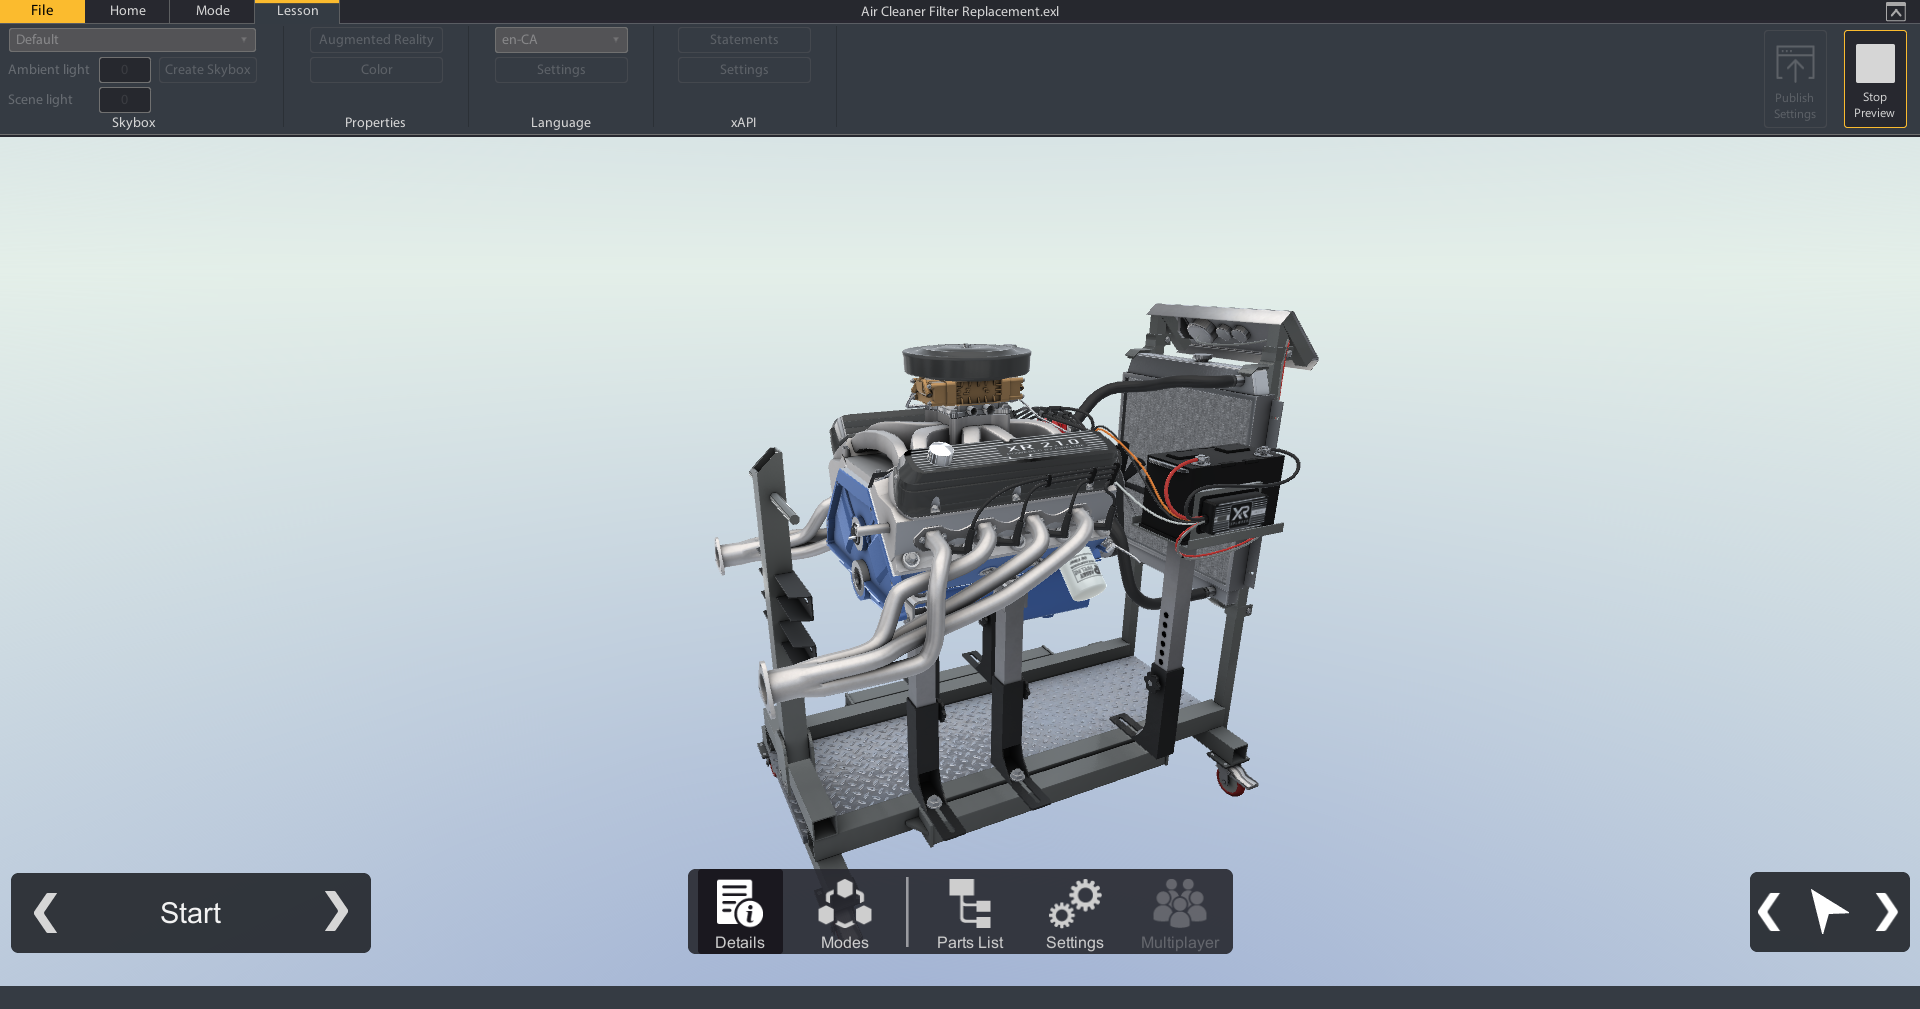
The Play preview button is always present in the top right side of the ribbon no matter what tab you are on. It allows you to see the lesson from your viewers perspective.


