Shared Links
Shared links are an easy way to share your training with a large audience quickly. They are anonymous access so there is no need for them to setup credentials ahead of time. They will simply click the link and be able to join the lesson after entering a nickname.
In order to create a shared link the project must be uploaded to a workspace the contains licenses. You can create shared links from the Modest Tree Portal or through the admin website
Creating a Shared Link Through Admin Site
- Go to the Shared Link Dashboard
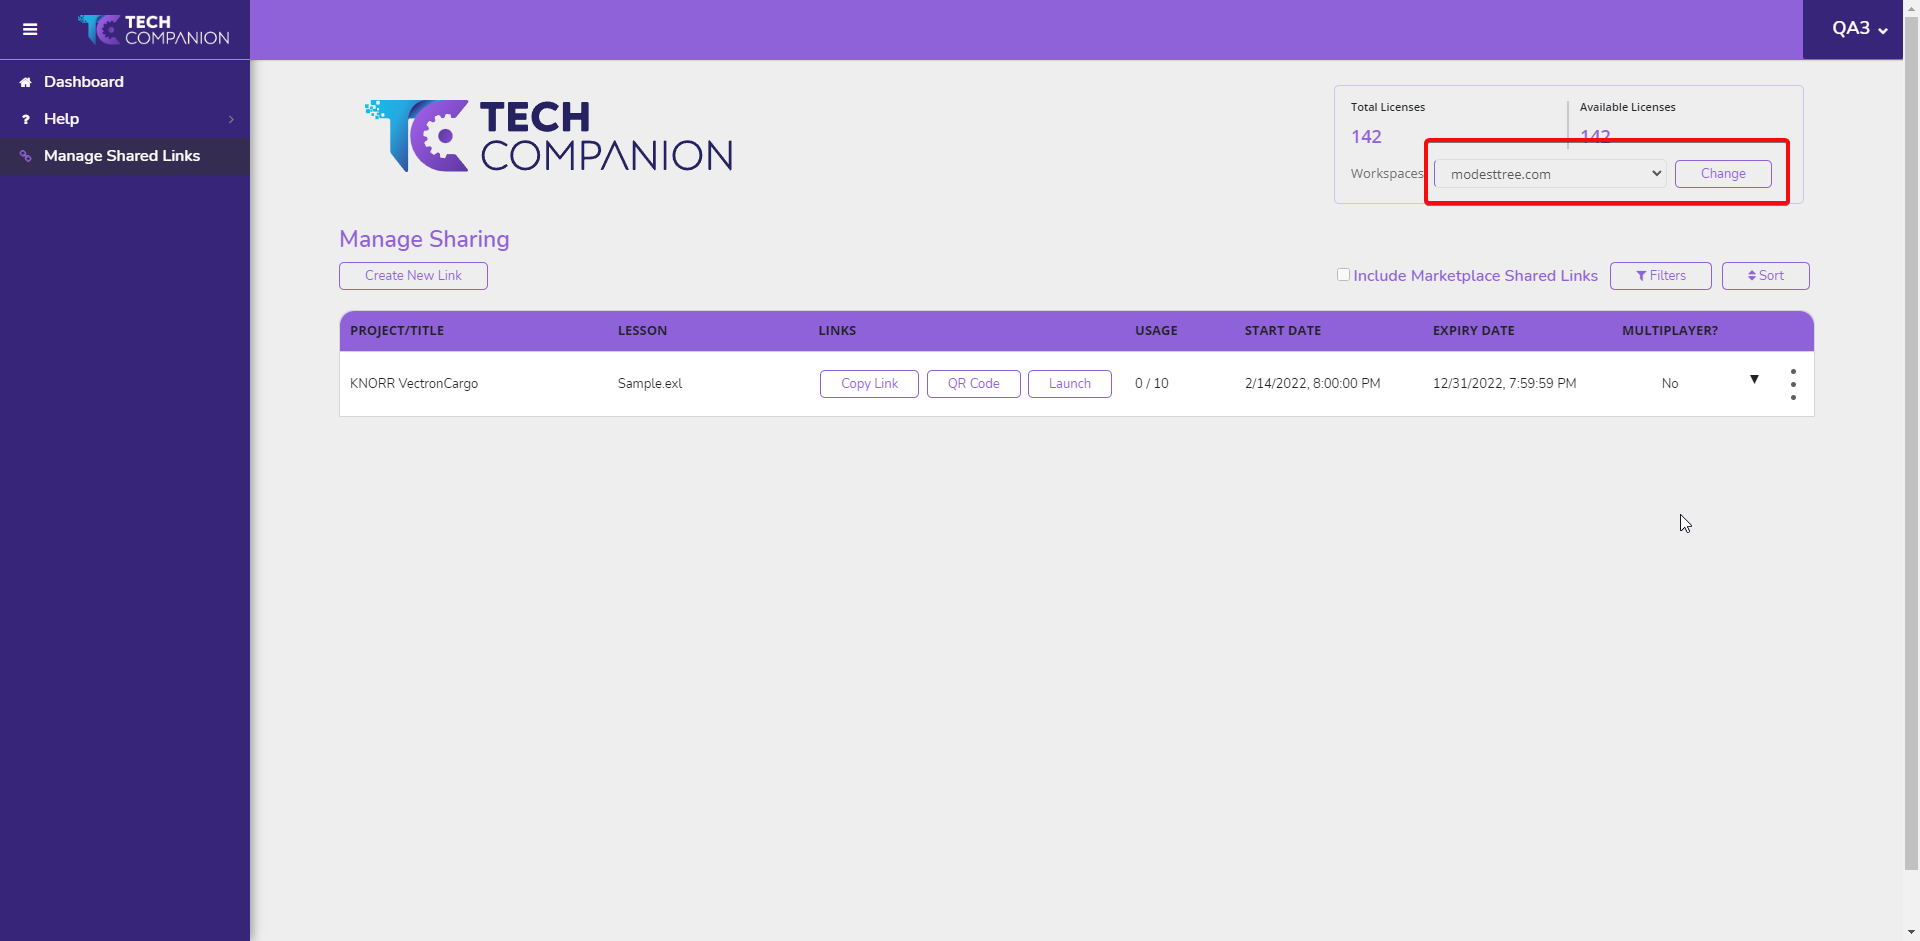
- Select the workspace your project is in from the workspace dropdown and click Change
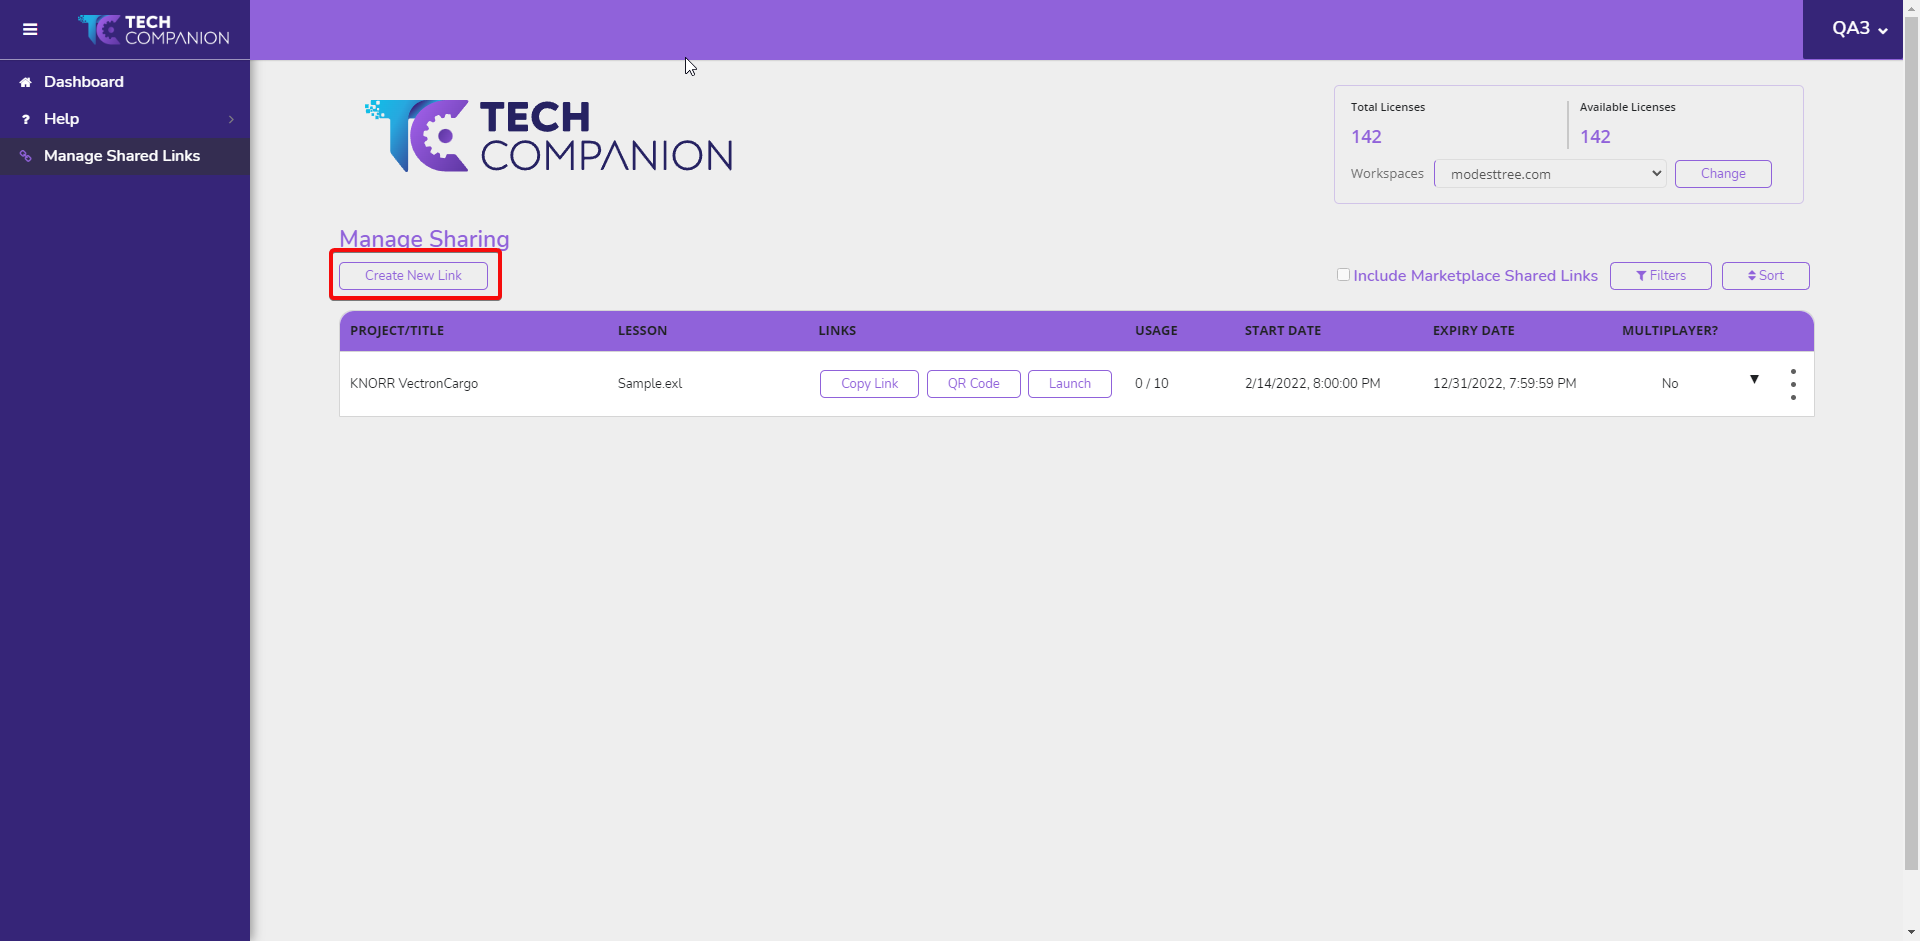
- Click the Create New Link Button at the top left of the shared link table.
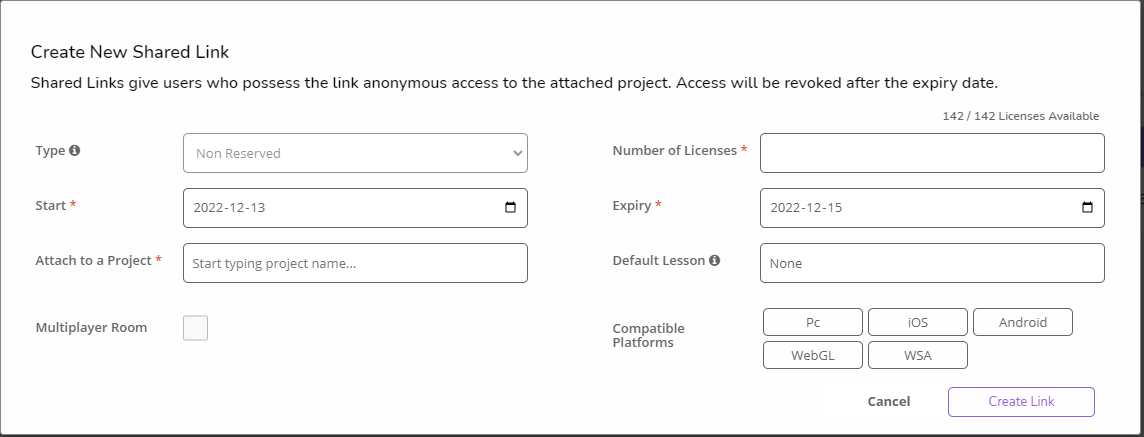
- Fill out the shared link form:
- Type: Currently all links are Non Reserved meaning the link will not completely freeze the licenses for use in this one link. If a user goes to use the link and all your licenses are already in use elsewhere, they will not be able to use the link. Make sure you have enough licenses that will be available to the audience you are distributing to.
- Number of Licenses: Defines the maximum number of users that can ever use this link at the same time.
- Start: When the licenses will become active for the link to be used.
- Expiry: When the licenses will be deactivated and shared link is no longer valid.
- Attach to a Project: What project will the shared link direct the users to.
- Default Lesson: What lesson should users be loaded into first.
- Multiplayer Room: Defines whether the users will load into the same room or separate single player instances.
- Compatible Platforms: Defines what platforms the shared link is good for.
- Click Create Link
- The link will now appear in the table.
You can share the Link or the QR Code to users. From the admin site shared link table, you will be able to see how many users the link is currently being used by.
Deleting a Shared Link
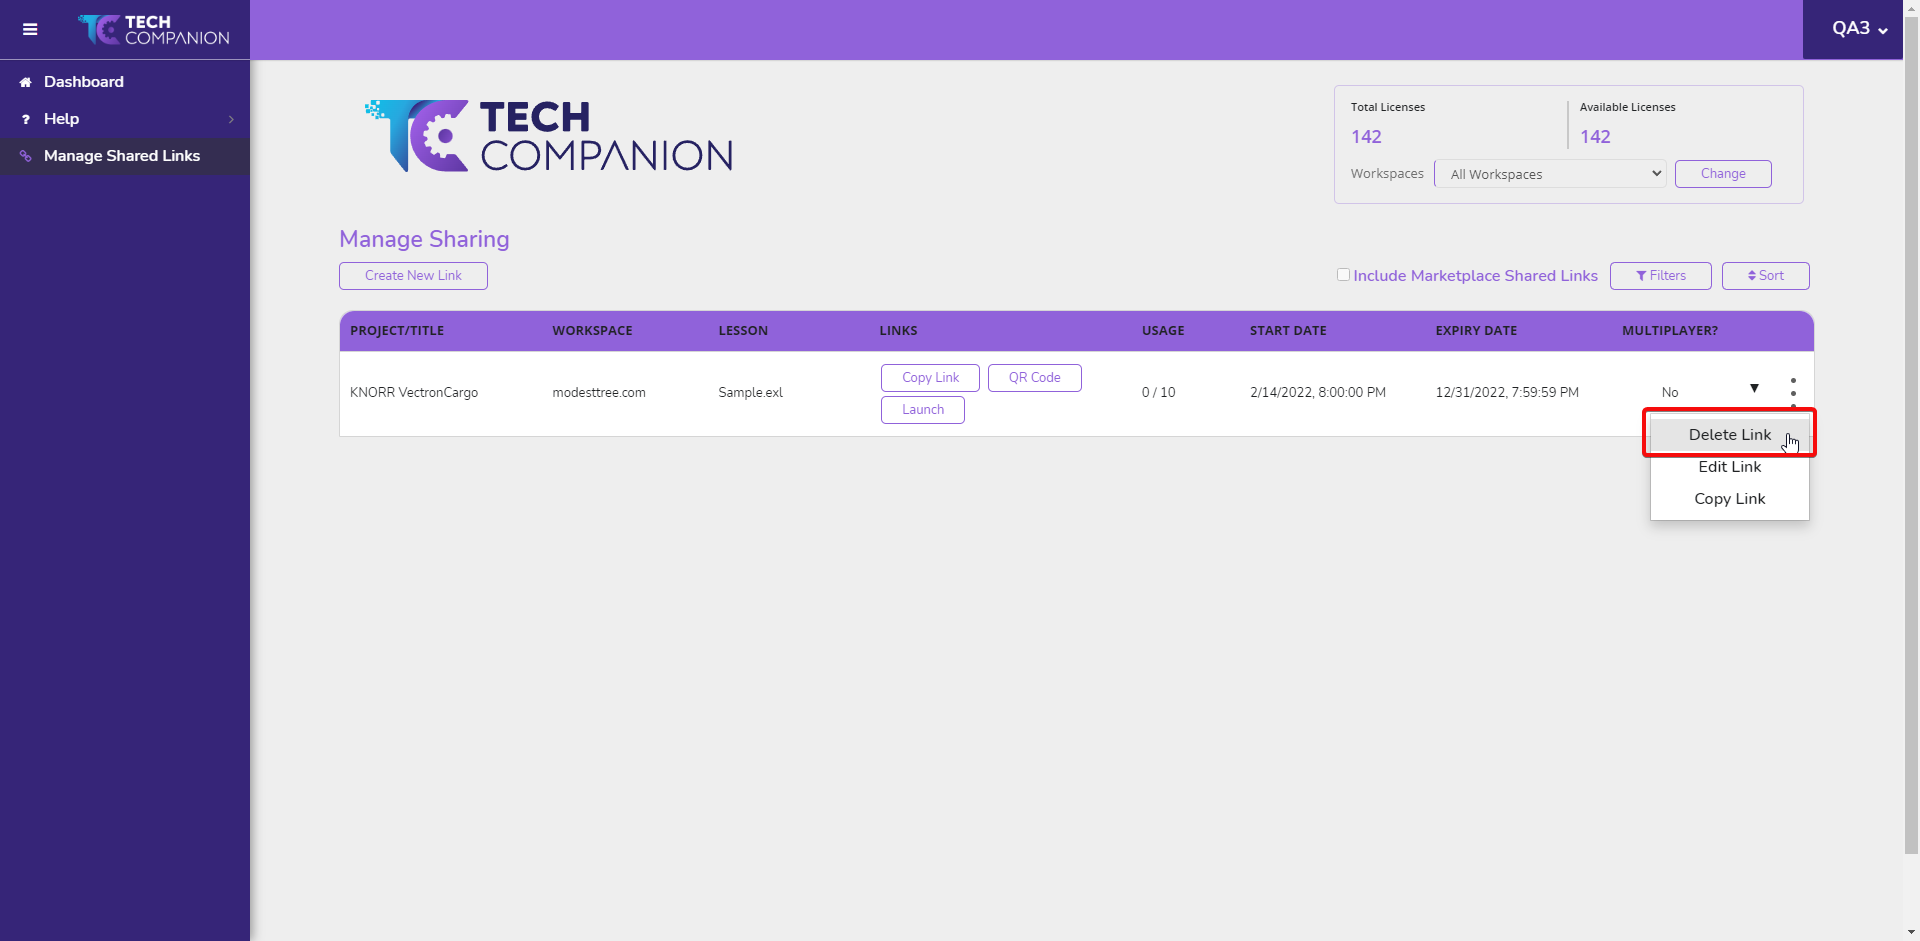
- Find the link in the shared link table
- Open the Shared link option dropdown by clicking the "..." menu
- Click Delete Link the Link will no longer be valid
Creating a Shared Link Through Portal
- In Modest Tree Portal click on the project you want to make a link for
- In the project Actions panel expand the Share section
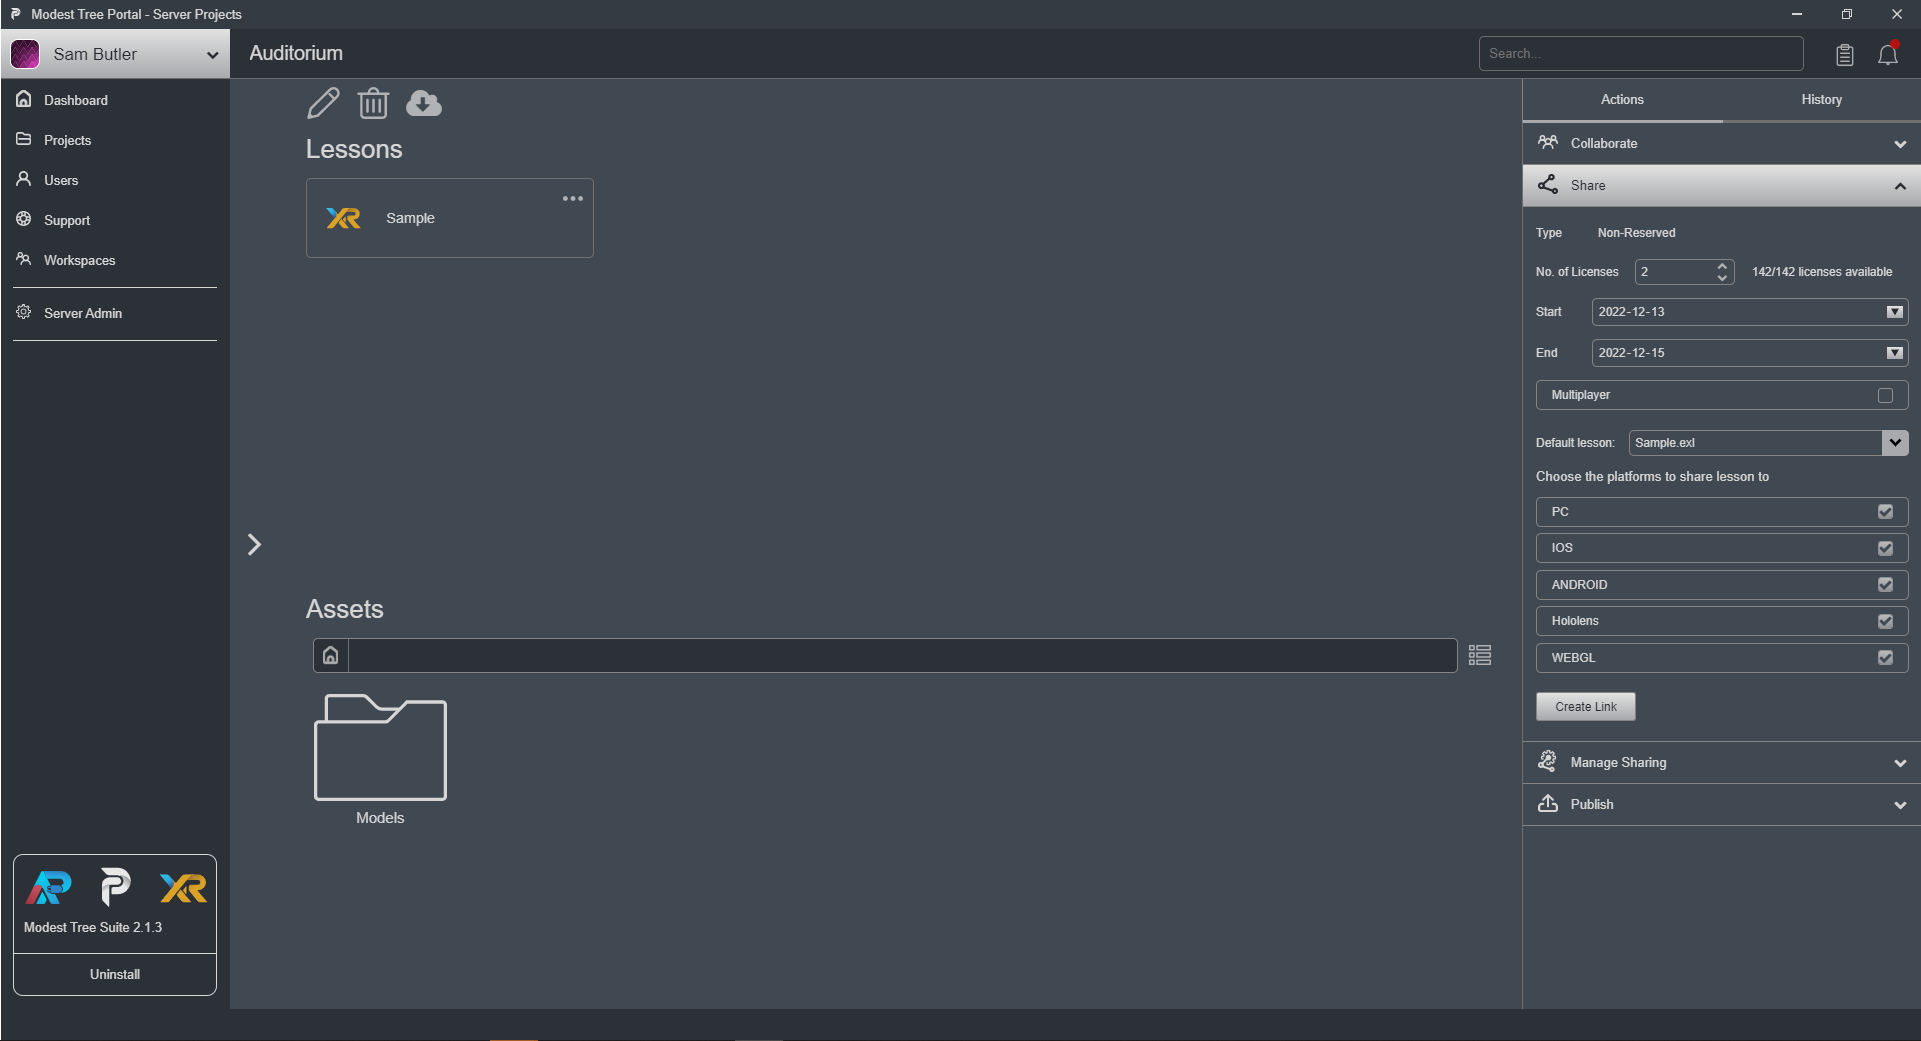
- Fill out the form
- Type: Currently all links are Non Reserved meaning the link will not completely freeze the licenses for use in this one link. If a user goes to use the link and all your licenses are already in use elsewhere, they will not be able to use the link. Make sure you have enough licenses that will be available to the audience you are distributing to.
- Number of Licenses: Defines the maximum number of users that can ever use this link at the same time.
- Start: When the licenses will become active for the link to be used.
- Expiry: When the licenses will be deactivated and shared link is no longer valid.
- Multiplayer Room: Defines whether the users will load into the same room or separate single player instances.
- Default Lesson: What lesson should users be loaded into first.
- Compatible Platforms: Defines what platforms the shared link is good for.
- Click Create Link
- You will get a popup to copy the link and save the QR Code.
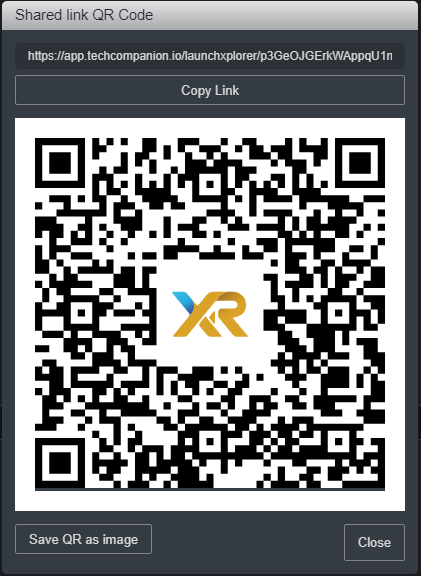
The link will also now appear in the Manage Sharing section so you can reference it again later.
Deleting a Shared Link
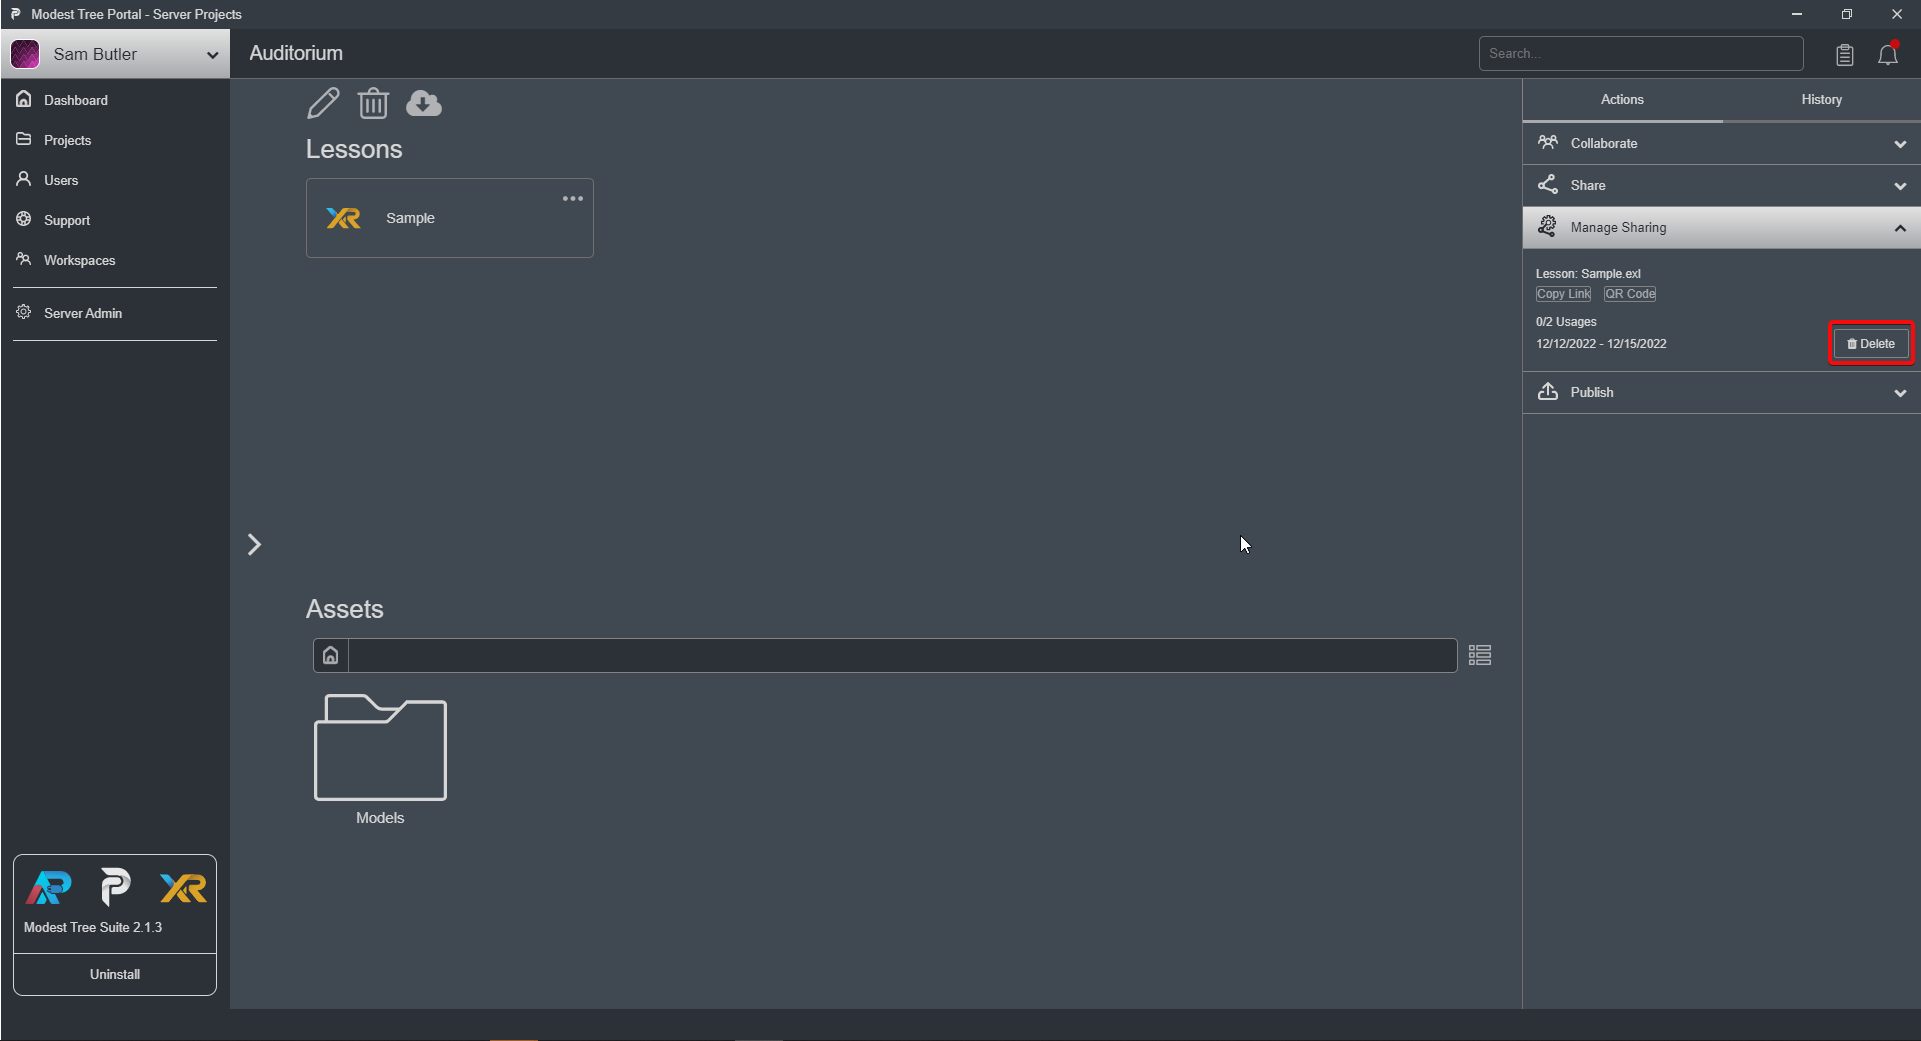
- Open the Manage Sharing section in the project detail action panel
- Click on the Delete button next to the shared link entry, the Link will no longer be valid
