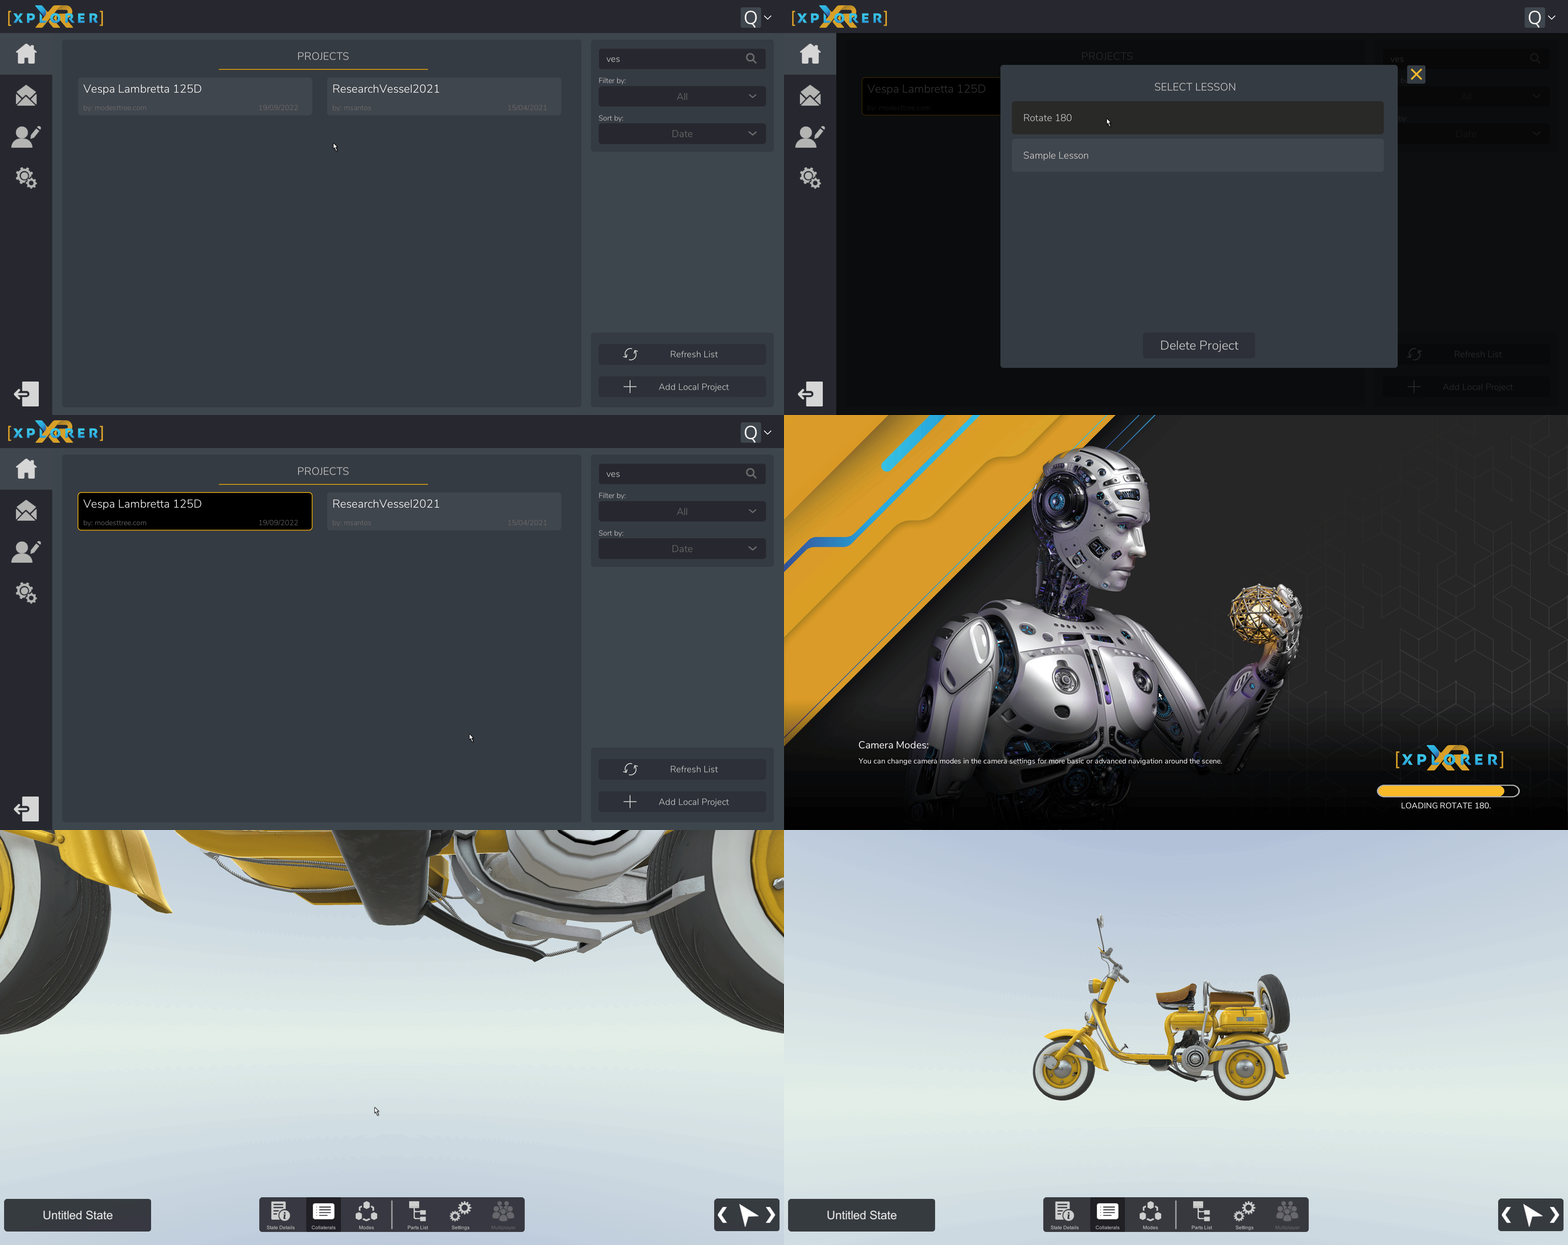
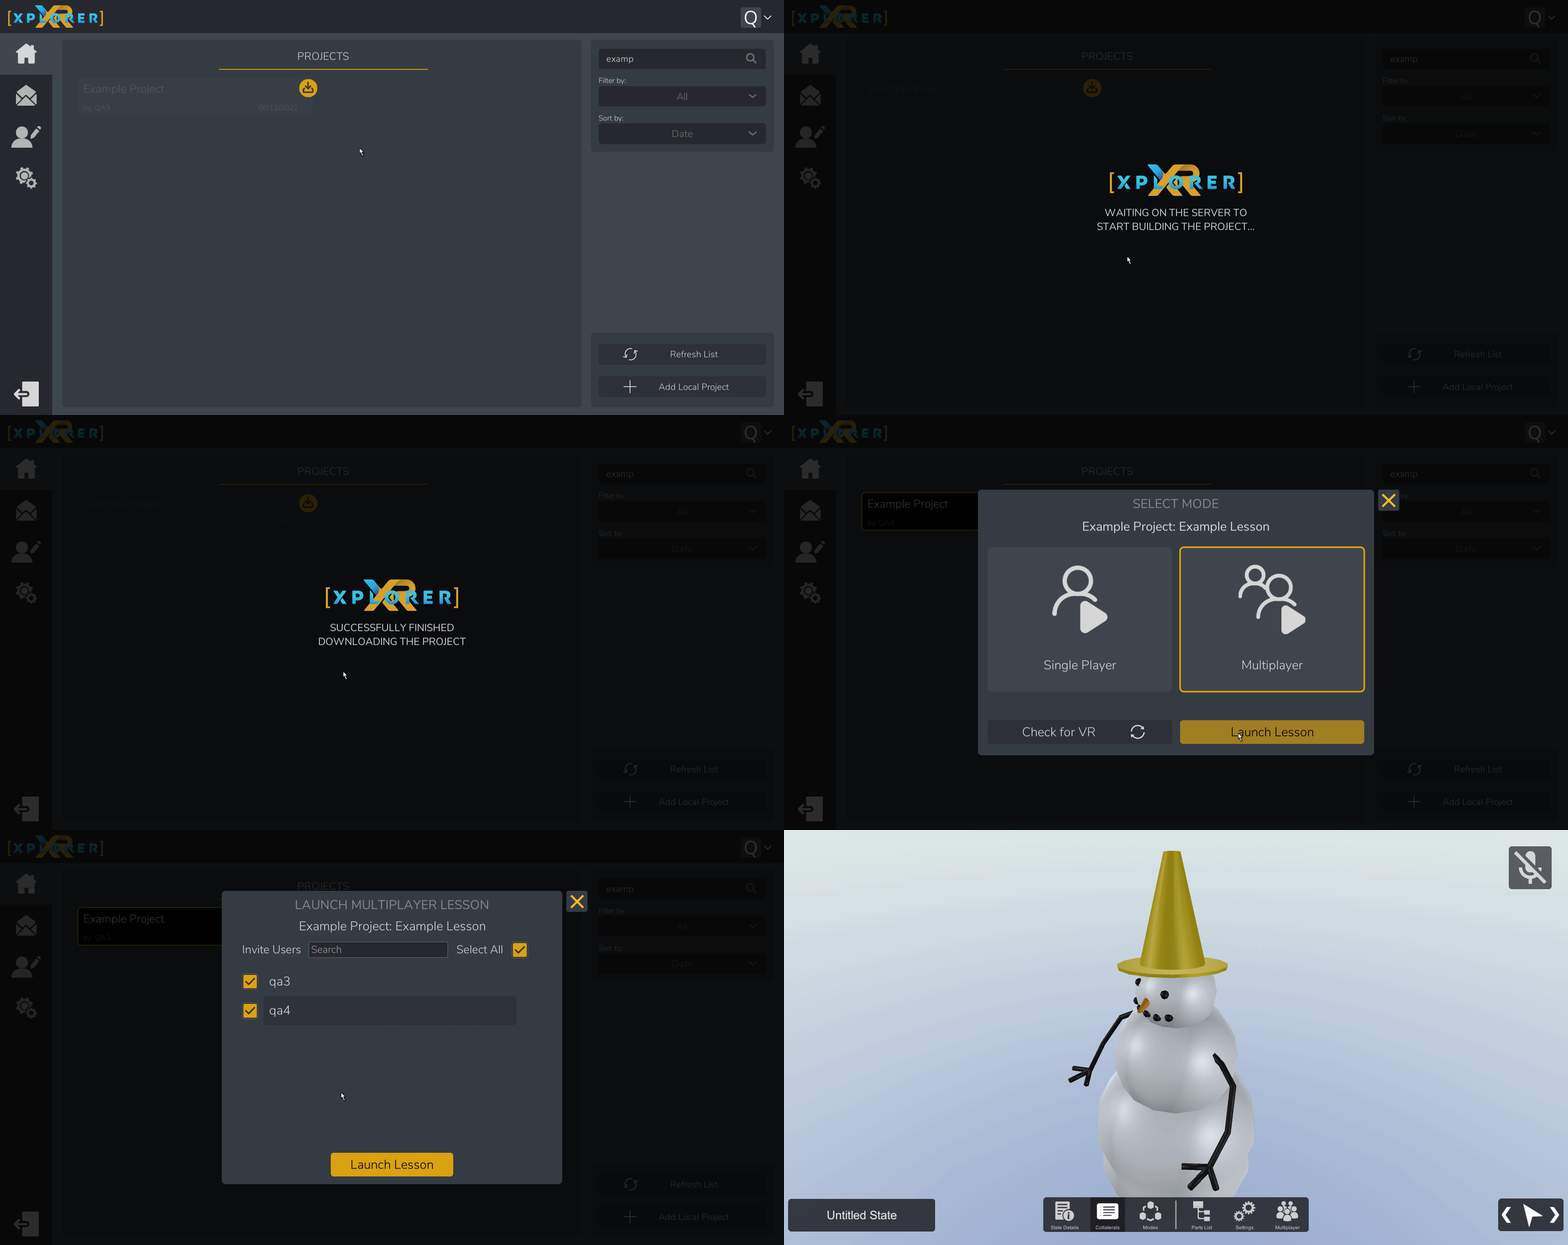
Starting A Lesson
Xplorer lessons can be played in single player or multiplayer. Multiplayer allows you to create a room and invite users in a presenter/observer style where one user has control over changing the state of the model while other users watch and follow along.
NOTE: Only projects that are uploaded to the server will be visible in the player and accessible for users to view.
Download a Lesson
When you first launch the Xplorer Player you will see all the projects you have access to in a greyed out list. Greyed out means the project is not downloaded. To download:
- Click on a greyed out project
- Click "Yes" from the download popup.
- Select the languages you want to download the lesson in.
- Click "Download"
The project will start "Publishing" if it is not already published. This means it is building the playable version from the source lesson that was created. It will do this part whenever there is a change made to the lesson. Then the download will begin. It will only download the files necessary to play the lesson in the selected language on the current platform it is being downloaded on.
Syncing a Project
If a project is updated after you have already downloaded it you will see a yellow sync button appear on the top right corner of the project. When you click on the project or the sync button you will be asked if you want to sync the project. Syncing is not mandatory for single player, you can still play the version of the project you already have downloaded. To continue with a single player experience just click cancel and select single player.
For multiplayer, syncing is mandatory to ensure all users are sharing the same experience. You will not be able to initiate a multiplayer experience until you sync the project to get the updated version.
Start a Single Player Lesson
- Click on a project in the list to start the download
- Click on the lesson you want to launch into
- Select "Single Player"
- Select the language you want to start the lesson in
- Click Launch
FOR VR: If you are launching the lesson in VR make sure to click the "Check for VR" button if it is not auto detected. Then Toggle "Use VR" on before launching the lesson.

Start a Multiplayer Lesson
In Xplorer Player after logging in:
- Click on a project in the list to start the download
- Click on the lesson you want to launch into
- Select "Multiplayer"
- Select the language you want to start the lesson in
- Click "Launch Lesson"
- Select the users you want to invite
- Click "Launch Lesson"

When creating a multiplayer room like this, all invited users will receive an email and in-app notification.
You can re-join a previously created room through the join tab under the "Hosted Rooms" Section.

