Creating a Project
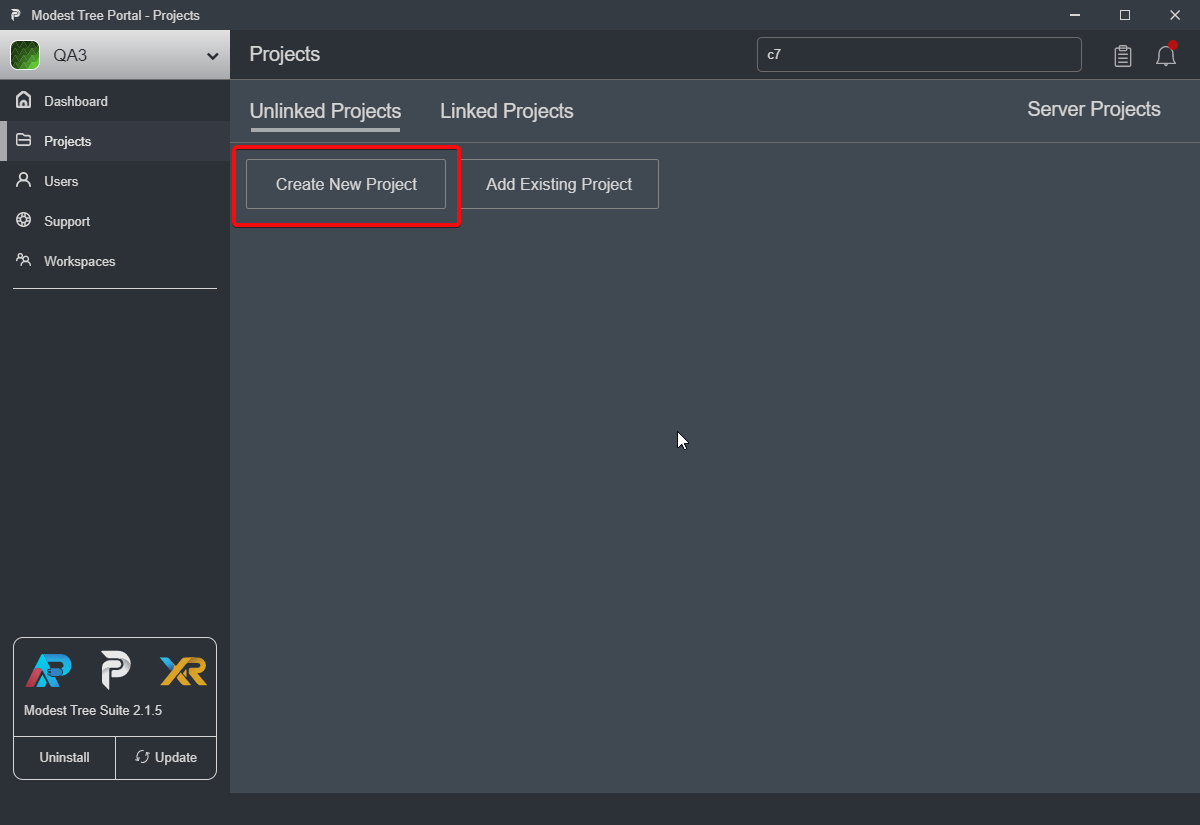
In order to create a new project, navigate to the Projects page. Then click the Create New Project button.
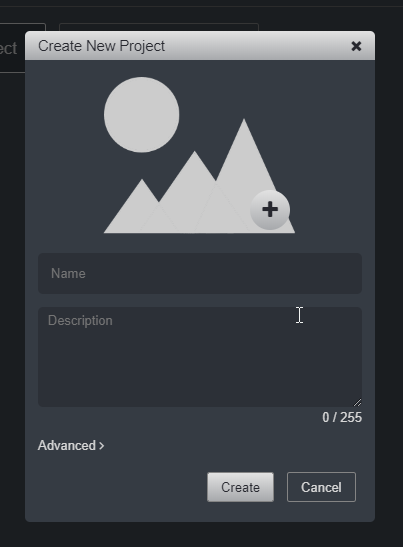
A window will appear to add project specific details, such as a title, description (optional), and thumbnail image (optional).
After the project is created you can begin to add assets.
To Share or collaborate the project with others you will need to Upload it to the server.
Adding an Existing Project
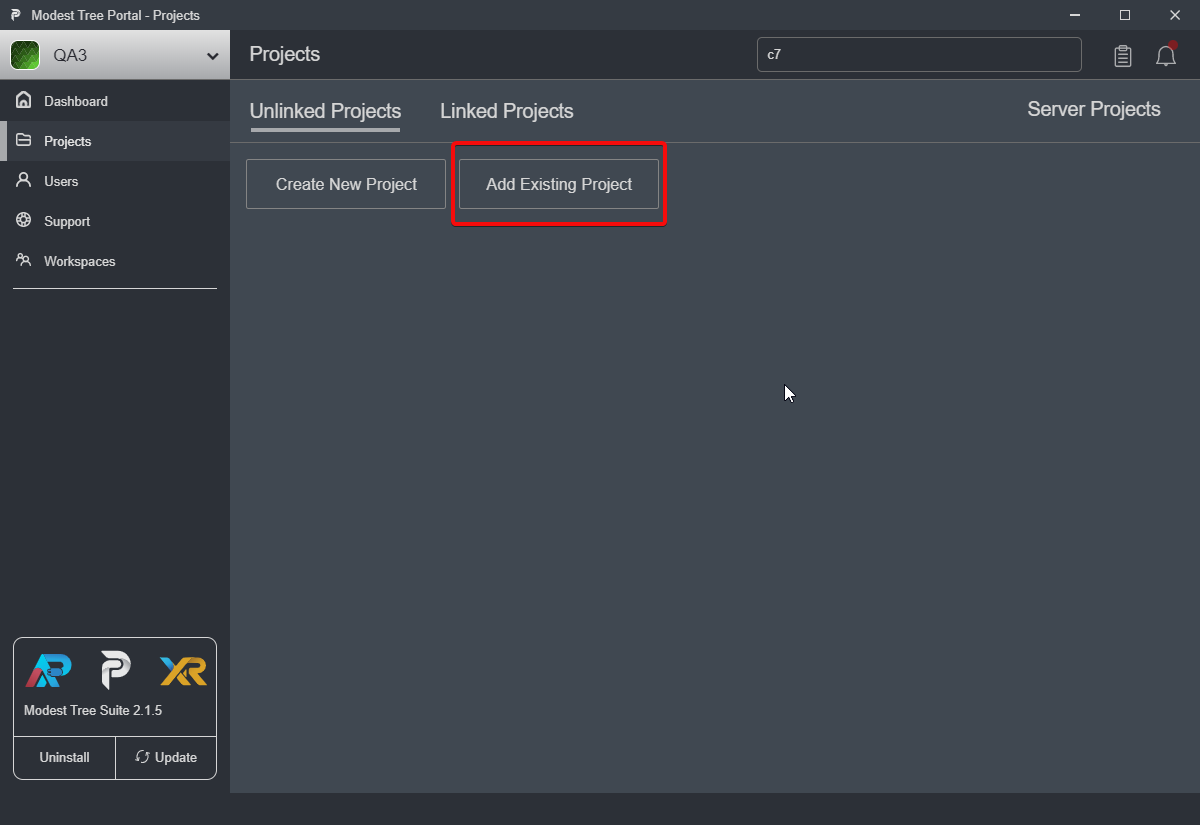
You can also add existing projects to the portal. To do this, click the Add Existing Project button.
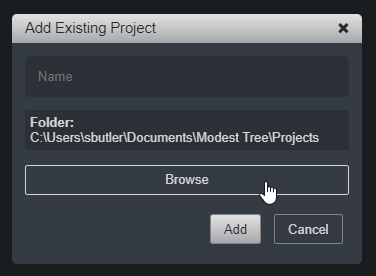
Select the folder of the existing project, and the name field will be populated automatically.
Be careful when adding folders that are already a git repository - this can lead to issues with the Portal! Contact your administrator for information on how to circumvent any issues.
Project Detail
After selecting a project you will be taken to its detail view which consists of several components.
Assets Section
Allows you to add and manage different assets of the selected project This includes all of the models, multimedia and associated files in the project.
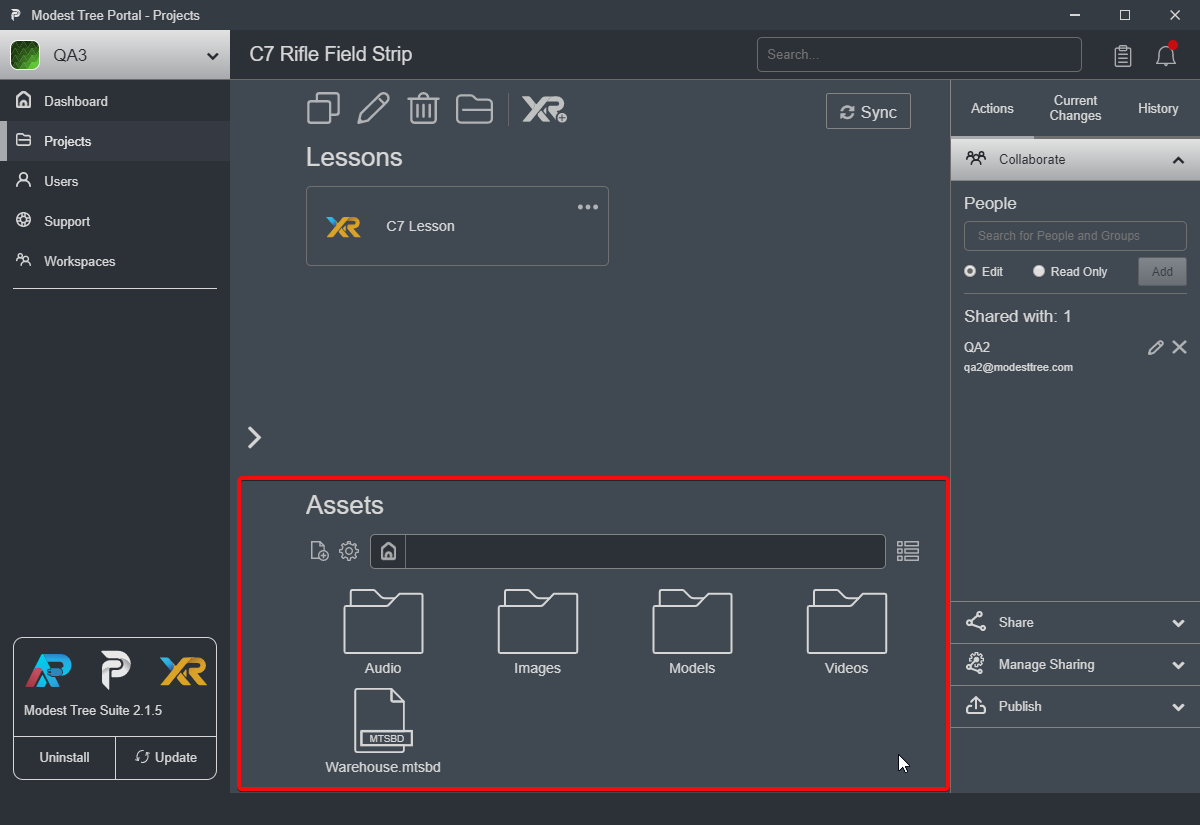
Here is where you can import new assets to your project. To import assets, you can simply drag and drop files into the assets tab. For more in depth information about importing assets see its documentation.
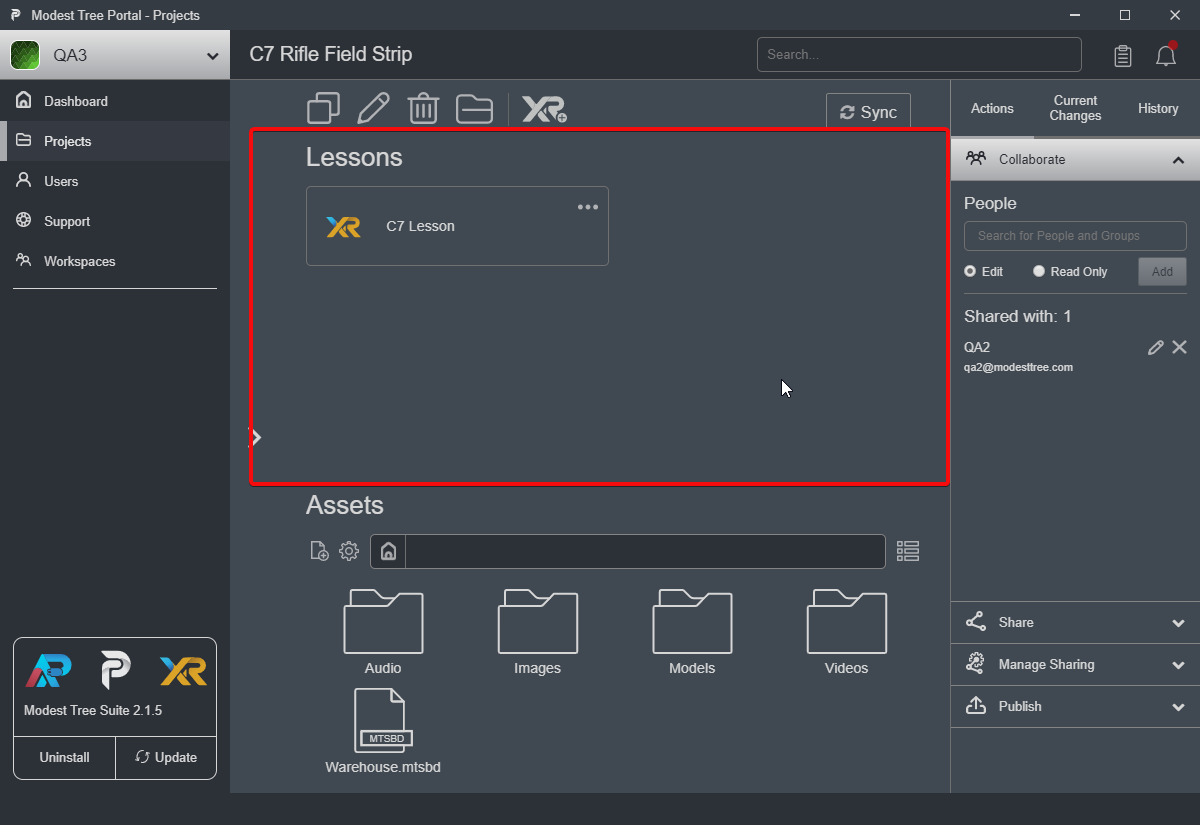
Lessons Section
Allows you to edit, play Xplorer lessons in this project. You can edit an existing lesson, and play published lessons. You can also, from here, create new lessons.
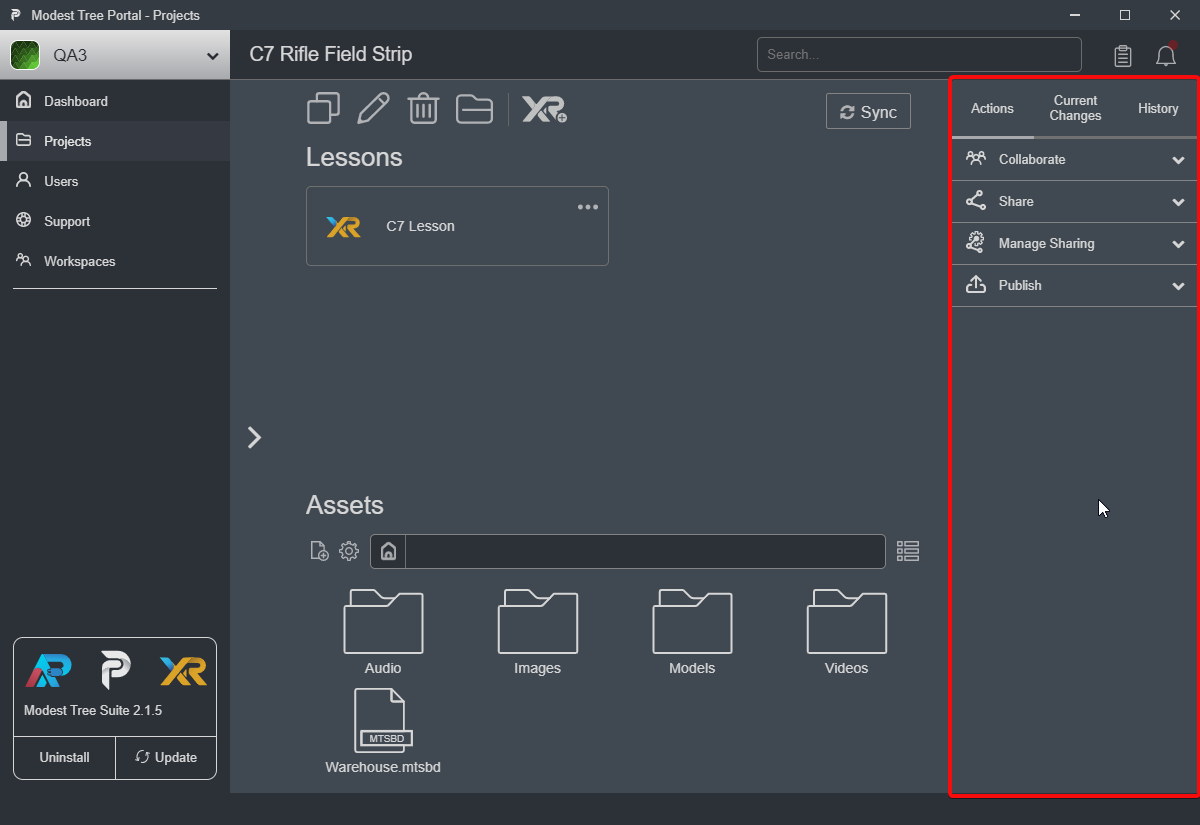
Actions and History Panel
The actions and history panel has three tabs:
Actions
Under the actions tab there are four sections
- Collaborate: ability to give other users access to the project source data for collaboration
- Share: ability to give anonymous access to users for viewing the project lessons through a shared link
- Manage Sharing: ability to manage shared links created for the project
- Publish: ability to pre publish a project for different platforms
Current Changes
- Local Uncommitted Changes: Changes made to a project that only exist on the local copy and are not saved
- Local Committed Changes: Changes made to a project that only exist on the local copy but are saved and ready to be pushed online
- Server Changes: Changes that were made to the online copy of the project that you do not have in your local copy
History
The complete history of all project updates made to the project since it was uploaded to the server.
Project Dropdown
From the Project list view, At the top right of each project entry is a kebab menu with several actions that change depending on your context and the status of the project.
Online Actions
- Download - Allows you to download a local copy of an online project.
Local Actions
Show Folder - Will open a file explorer to the project's location on your computer.
Upload - Allows you to upload local (offline) projects to the server.
Sync - Sync any differences between your local version of the project, and the online version of the project.
Delete - Remove the project from the portal, but does not delete the project's folder.
Universal Actions
Duplicate - Allows you to create a copy of the project. In the case of offline/local projects, it makes a copy of the project on your local machine. For online projects, it makes a new copy on the server.
Edit - Allows you to edit project details such as the title, description, and thumbnail image.
Delete - Deletes the project from the portal and it's associated files. Doing this to local projects will remove it from your computer. Doing this on online projects will remove it from the server, but any local copies will not be removed.
Next: Importing Assets