Presenting A Lesson
This section will familiarize you with the Xplorer Player UI and presentation tools available while playing a lesson in single player or presenting in Multiplayer.

State List
The state list is the left panel of the Player UI. It displays all the states you have created within the Xplorer Creator. All listed states can be manually cycled through, in the order created, using the left and right arrows. Click on the state title to expand the list of states. From there you can pick what state to change to in any order, and you are able to scroll through the entire list of states. Changing the state within the player will always set the state to its pre-defined settings, all modifications done in the player using tools (x-ray, visibility etc.) will not be saved upon state change.
Main Menu
From the main menu you can access various submenus and features
State Details: Title and description of the current state.
Modes: Access Expand, Animate, and Free mode within the player. Cycle through the quick access menu with the arrows to change modes.
AR Mode: If the device is AR compatible and AR is enabled in the lesson you can anchor the model in AR by surface, image, or object tracking.
Parts List: Shows the scene hierarchy.
Settings: Camera and voice settings, lesson selection, and quit options.
Multiplayer: Invite other players and manage the rooms players.
Tools
As a presenter of a lesson you have access to a series of tools that can enhance your prepared states. You will also have access to the various assets you applied to your states in the Editor and be able to show them at the appropriate times. You can also manage your multiplayer room and people within it.
Note: Only objects under the freeplay root can be interacted with using tools unless the object has an explicit on-click action set.
Submenu: Most tools have an expanded menu that can be opened by clicking on the expand icon to the left of the tools list. If a selected tool has properties that can be changed such as color or line thickness they can be found in this expandable submenu.
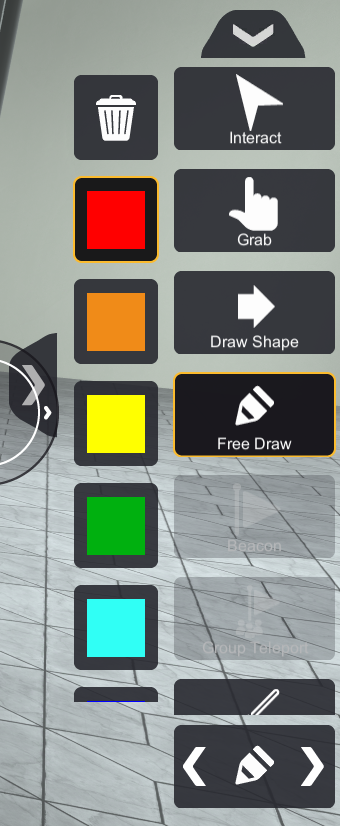
Interact: The select tool triggers interactions with objects if there are any attached to an object or hit point. (setup in Xplorer Creator during lesson creation)
Grab: The grab tool allows the presenter to grab and move parts of the model.
Draw: Allows you to set a drawing plane to draw at the exact depth you choose.
- Select draw tool
- Select a focal point in the scene
- Reposition the draw plane by using the sliders
- Click the checkmark when its in the desired position/depth
- Start drawing
Laser Pointer: The laser pointer tool allows the presenter and users to place a red highlight on a object, only one object can be affected by the laser pointer per user.
Highlight: The highlight tool allows the presenter to place a yellow highlight on objects. Unlike the laser pointer, multiple objects can be highlighted at one time.
X-Ray: The X-Ray tool allows the presenter to toggle an X-Ray effect on an object. The X-Ray effect causes an object to become slightly transparent. There are various colour tint options available for the X-Ray. Multiple objects can be X-Rayed at one time.
Color: The Color tool allows the presenter to toggle the color effect on an object. There are four color options that can be selected from the expanded menu. Multiple objects can be colored at one time.
Glow: The Glow tool will enable the presenter to apply glow effect on the selected object.
Screenshot: Ability to take screenshots with or without the Xplorer player UI.
- Select the screenshot tool.
- Click "Include UI" if you want the Xplorer UI otherwise it will have no Xplorer UI by default.
- Click "Enable" the screenshot button will appear in the top right.
- Position your camera and press the screenshot button in the top right corner.
- Photos will appear in your camera roll on mobile or Pictures/Xplorer on PC.
Visibility: The Visibility tool allows the presenter to make an object invisible. The undo and show all buttons in the expanded menu allow for making objects visible again.
Clear Effect: The Clear Effect tool will allow the presenter to remove any X-Ray, Color, and highlight effects off of an object if there is any.
Group Teleport (Multiplayer Only): The beacon tool is used for multiplayer. It allows the presenter to teleport all observers to the desired location in 3 configurations. In order to use the beacon, you must select one of these configurations from the expanded menu.
Beacon (Multiplayer Only): The beacon tool is used for multiplayer. It allows the presenter to ping a point of interest for all observers.