Basic State Setup
States allow you to transition between different model states. You will create a new state each time you want to change the position or look of the model during the lesson.
Master State
The Master State will set the default properties for all other states in the lesson. This means whenever something is changed on the Master state, that change will be reflected in all other states.
To edit the Master State go to the Lesson tab on the ribbon and click the Master State button.
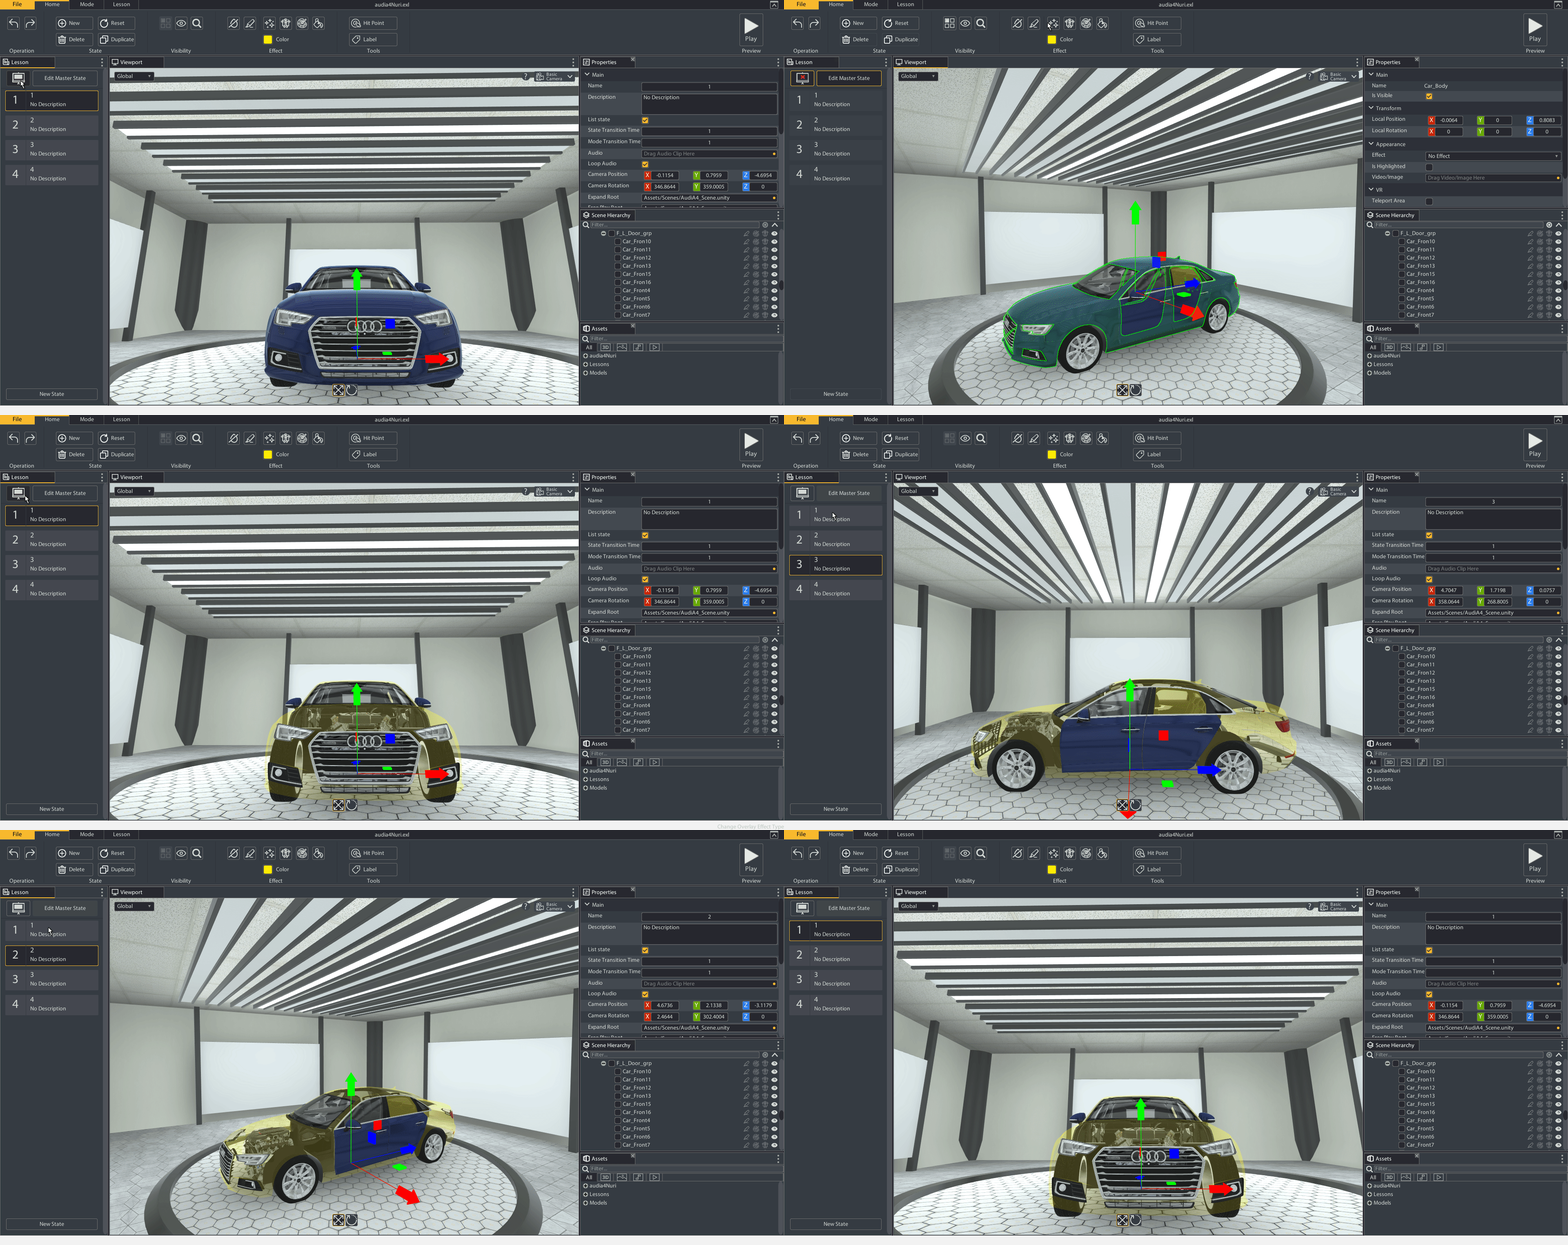
An example is shown in the gif below:
- Go to master state
- Xray several model parts
- Exit master state
- See that the model parts are now xrayed in all states

NOTE: if the model part has already been modified directly in a state it will not be affected by the Master State until it is reset
There are several properties you will want to set on your master state so they will propigate to all existing or newly created states. When editing the master state think about the following:
- What position do I want my default model position to be?
- What surfaces should VR users be able to teleport on?
- What object will I be expanding in the Editor most often?
- What object do I want the presenter to be able to expand freely during the lesson?
- What effects should be applied by default?
- What labels do you want visible in most states?
- What state videos, image, and questions do I want applied?
- What Hit Point style will I be using?
- Will there be any audio playing through the lesson?
VR Teleport Area:
In order for VR users to teleport around your scene you will need to define what areas are allowed to teleported on. We can do this by selecting the area in the Viewport and toggling the "Teleport Area" property on, in the properties panel.
Expand Root:
Expand Root defines the object that will be expandable when you change the state mode to Expand Mode. You can drag and drop a model part from the Scene Hierarchy to the Expand Root property in the Properties Panel while the state itself is selected.
Freeplay Root:
The Freeplay Root defines the object that will be expandable for the presenter when the lesson is being played. You can drag and drop a model part from the Scene Hierarchy to the Freeplay Root property in the Properties Panel while the state itself is selected.
Per State Setup
Some Properties you will need to setup distinctly on each state. Each state should have a unique name and a description. These can be changed in the states properties (Properties Tab).
Teleport Spots
For VR you might want to make Teleport Spots. These are special teleport areas that change the state when teleported on. These are only visible for the Presenter when they are in mid teleport. The presenter will only see the teleport spots for the current, previous and next state. They are optional and can be set for each state.
To turn on a teleport spot for a state:
- Select the state
- In the Properties Tab toggle the "VR Teleport" on.
- The spot will appear in the Viewport where you can use the gizmos to position it.
Once a teleport spot is made visible it will be visible on all states when the presenter is teleporting. For example, I placed teleport spots on states 1 and 2, when I play the lesson on state 3 and teleport, I can see teleport spots 1 and 2. If I teleport onto spot 1 it will take me to state 1.

