Importing Assets
In order to start a new Xplorer lesson you will need model assets. If you are interested in making Cross-Platform lessons find out more here.
Supported Asset Types
| Asset | Supported File Formats |
|---|---|
| 3D Model | .fbx, .abscene, .dae, .gltf, .glb, .3ds, .obj, .stl, .stp, .step, .iges |
| Video | .mp4 |
| Audio | .ogg, .mp3, .wav |
| Image | .png, .jpg, .jpeg |
Once you have your assets you need to import them into your project. You can do this either from the windows file system by dragging them into the project folder or Xplorer itself.
Importing Assets Within Xplorer
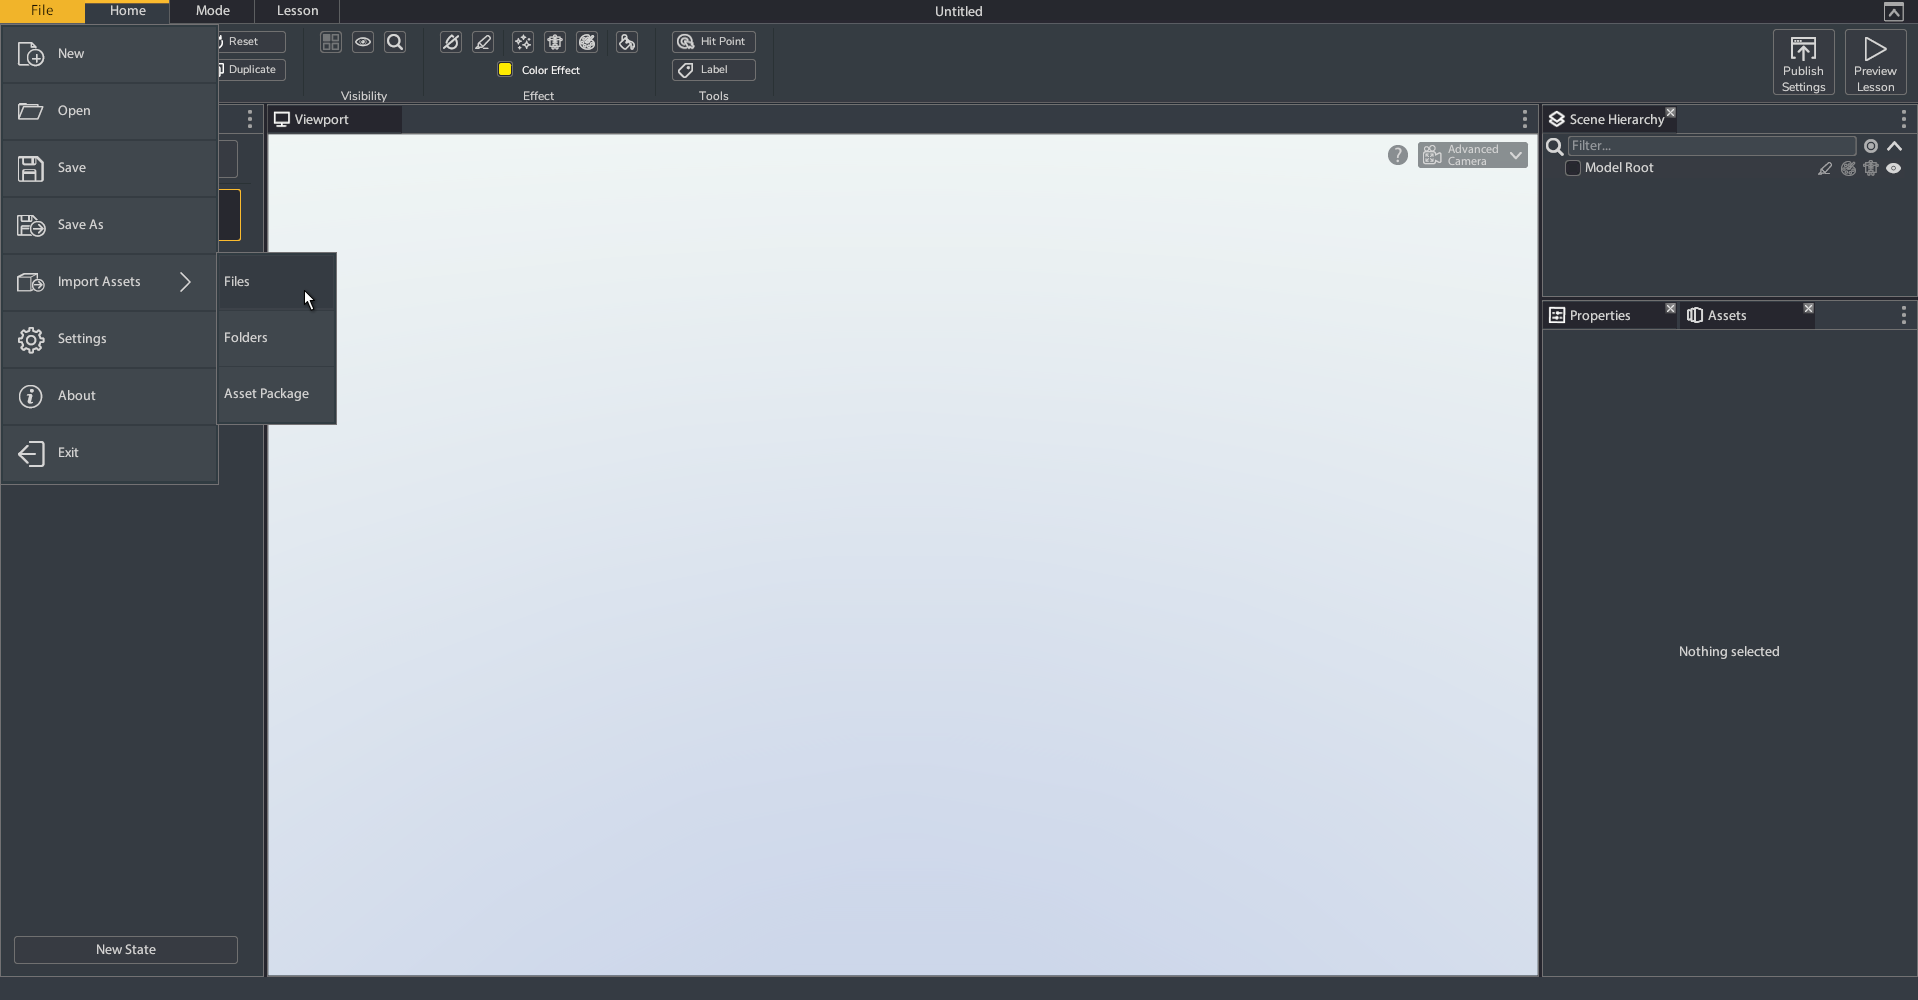
- Click File > Import. There are three options
- Files: Import individual files from your file system. You can multiselect individual assets to import at the same time using ctrl or shift.
- Folders: Import a whole folder of assets from your file system.
- Asset Package: Import a whole asset package from your file system.
- Navigate to the model asset you want to make a lesson with in the file explorer and select Import.
- Choose or create a folder to save the asset to in your project and click Save. You can import your other assets (image, videos, audio) the same way.
- Click File > New.
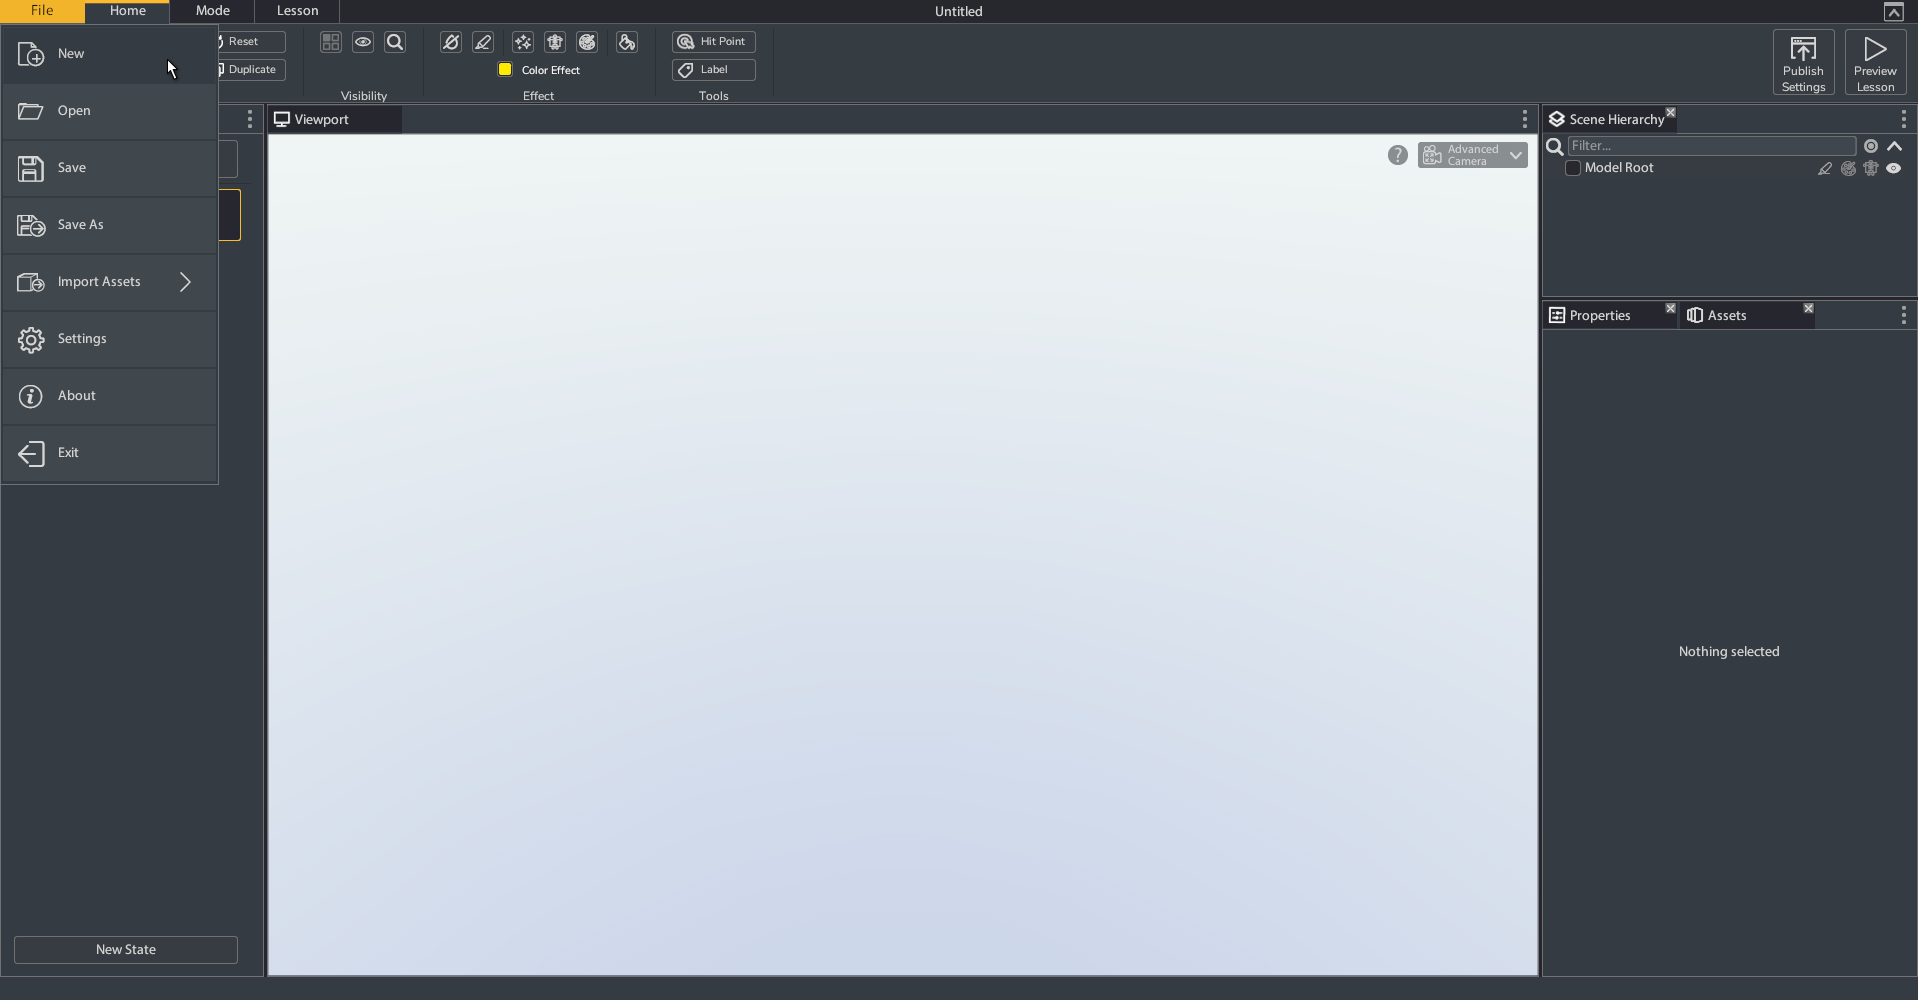
- Select the imported model and click Create, a new lesson will be created with this model. You can also create new lessons with no model.