
Importing Assets
In order to start a new Xplorer lesson you will need model assets. If you are interested in making Cross-Platform lessons find out more here.
Supported Asset Types
| Asset | Supported File Formats |
|---|---|
| 3D Model | .FBX, .abscene, Unity Projects |
| Video | .mp4 |
| Audio | .ogg, .mp3 |
| Image | .png, .jpg, .jpeg |
Once you have your assets you need to import them into your project. You can do this either from the Portal or Xplorer itself.
Importing Assets Through Portal
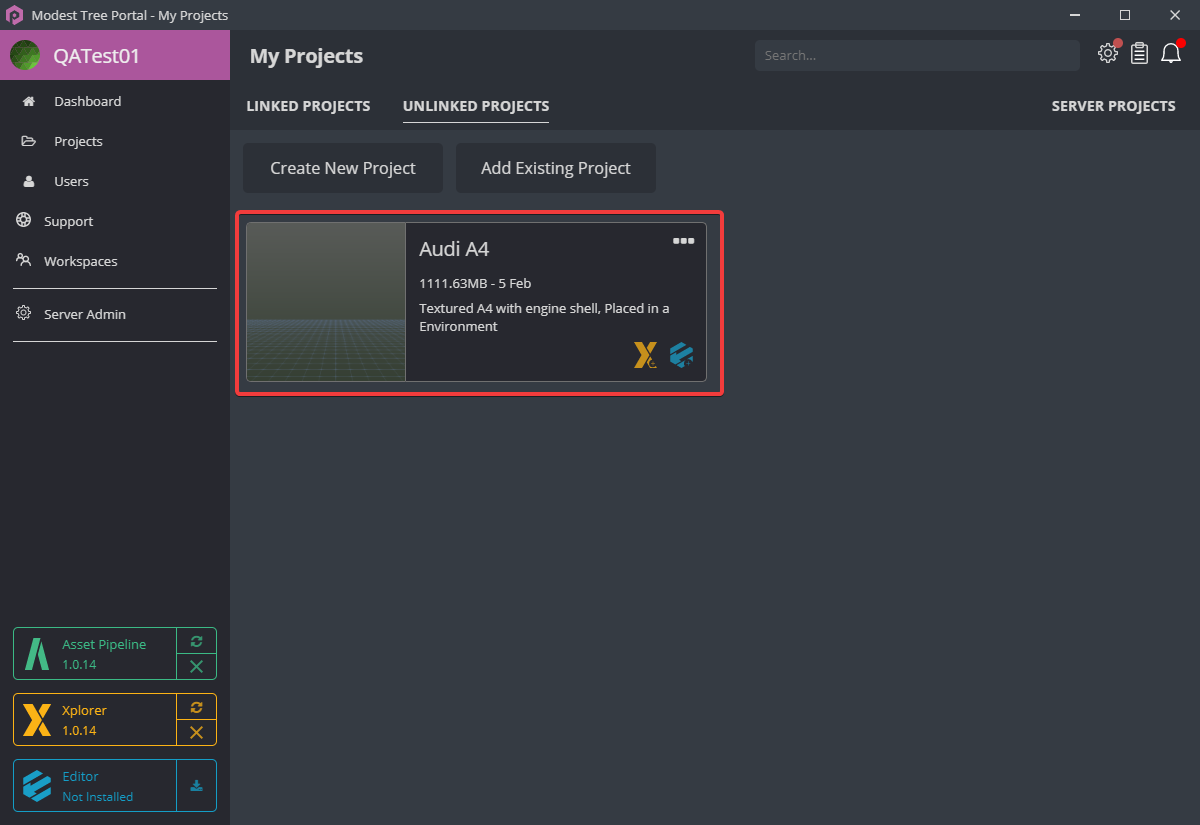
- Open up the Portal, find your project and click on it.
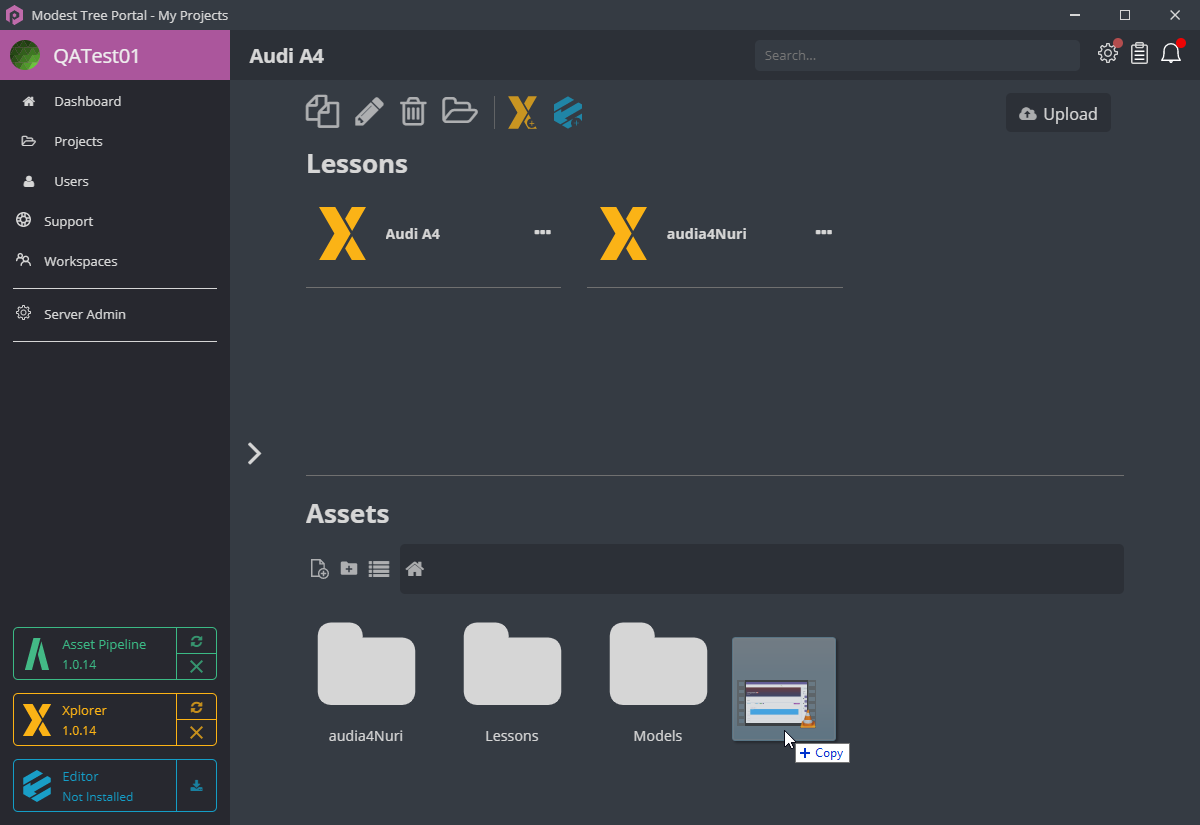
- Drag your desired assets (images, videos, models, etc..) from your file system into the asset section of your project.
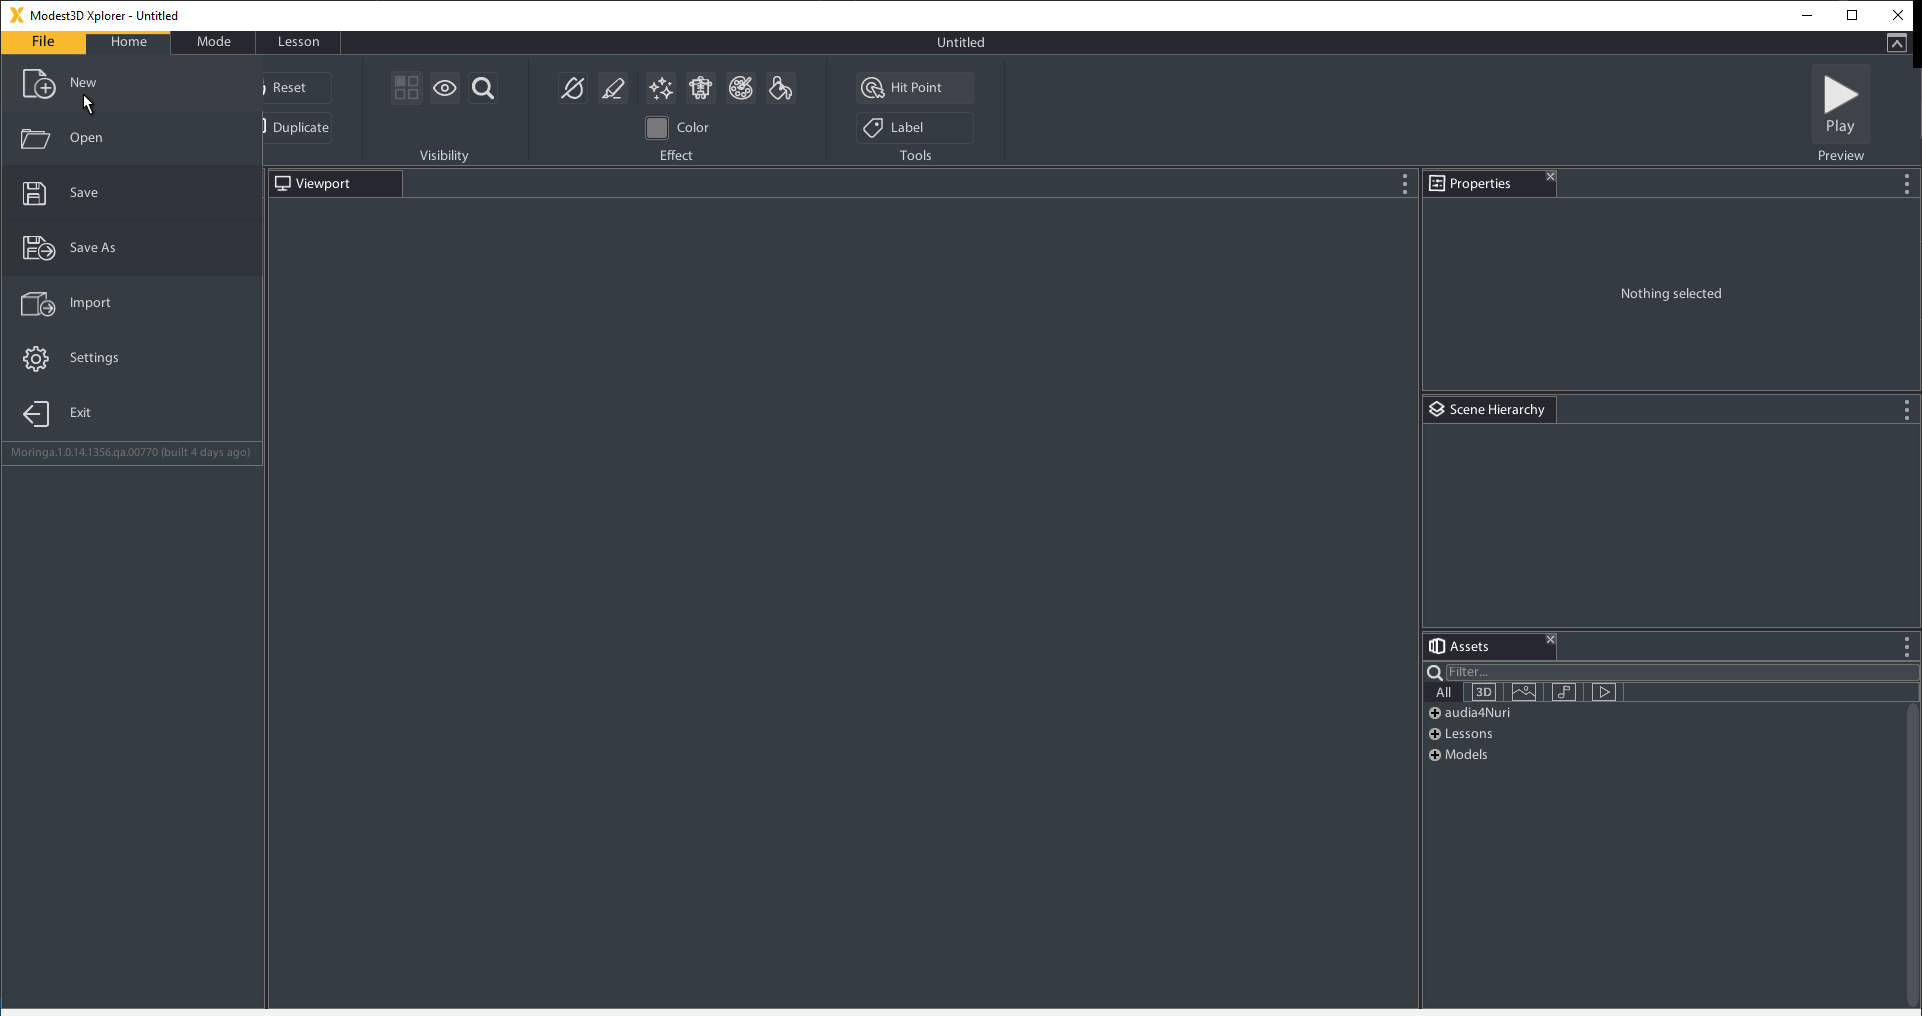
- Launch the Xplorer, click File -> New.
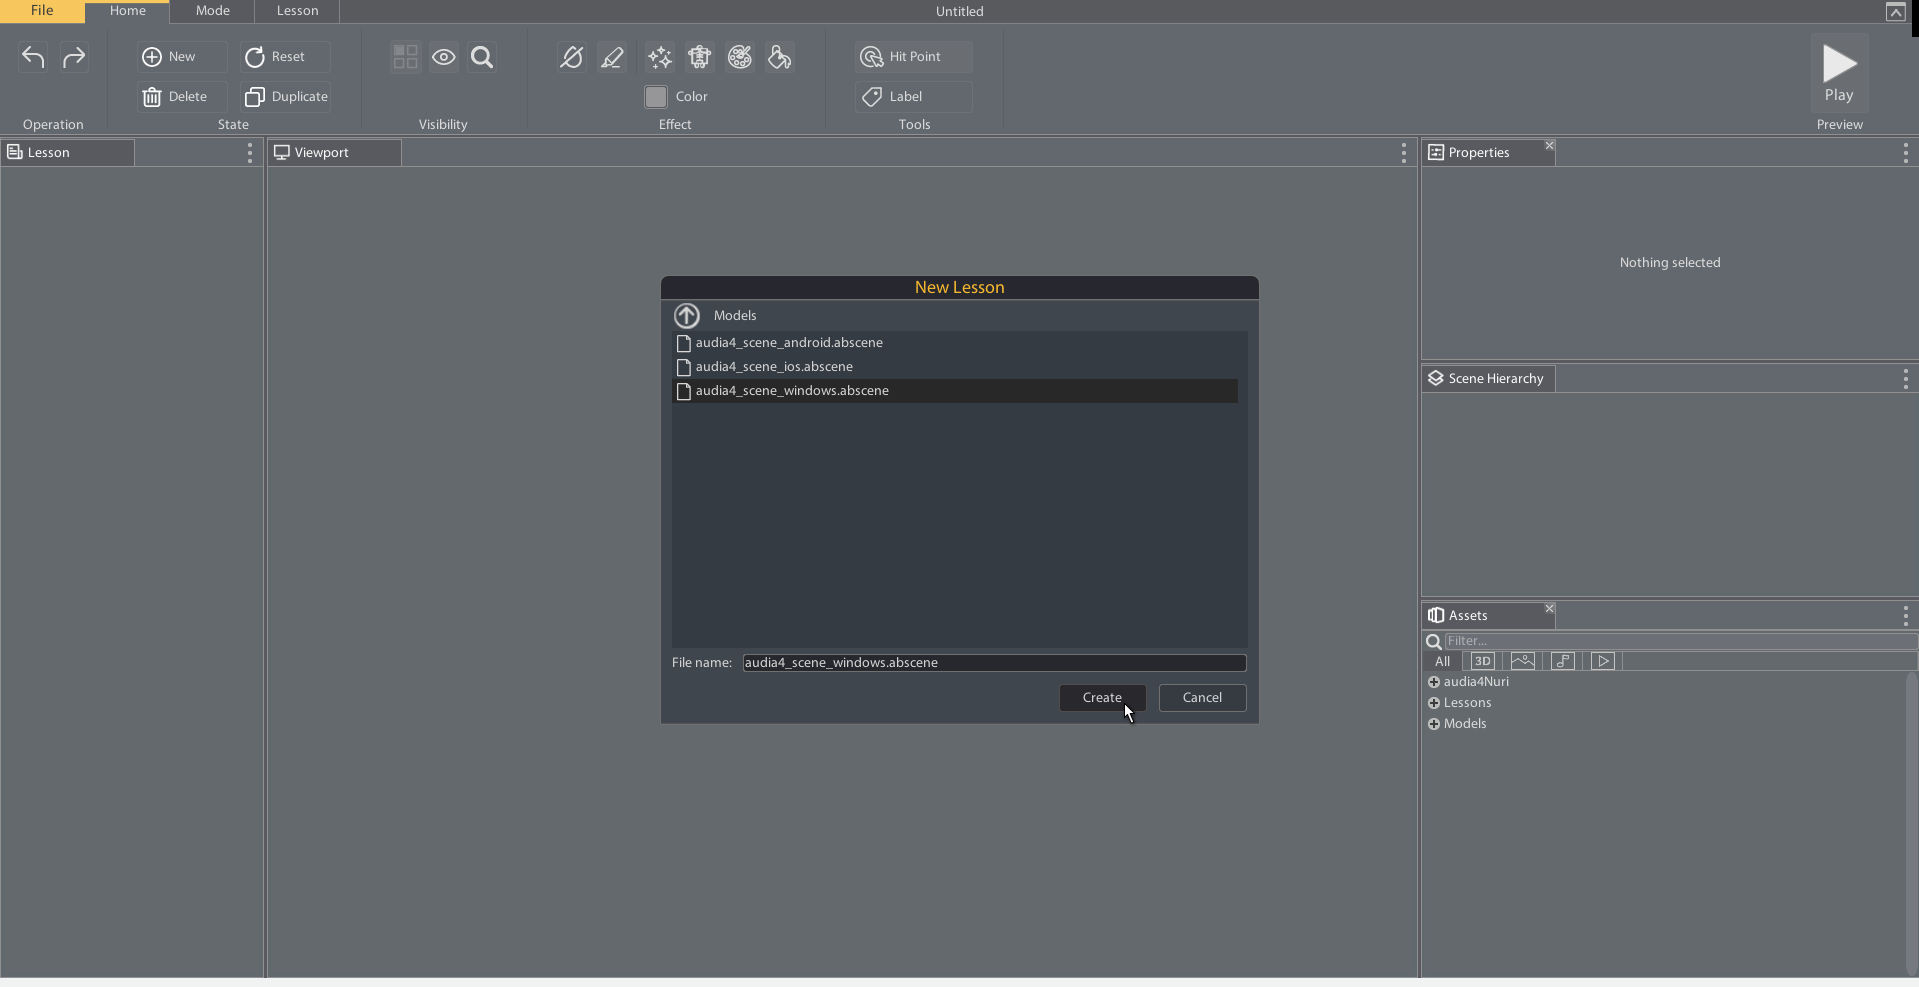
- Select the model you want to create the lesson with and hit 'Create'.
Importing Assets Within Xplorer
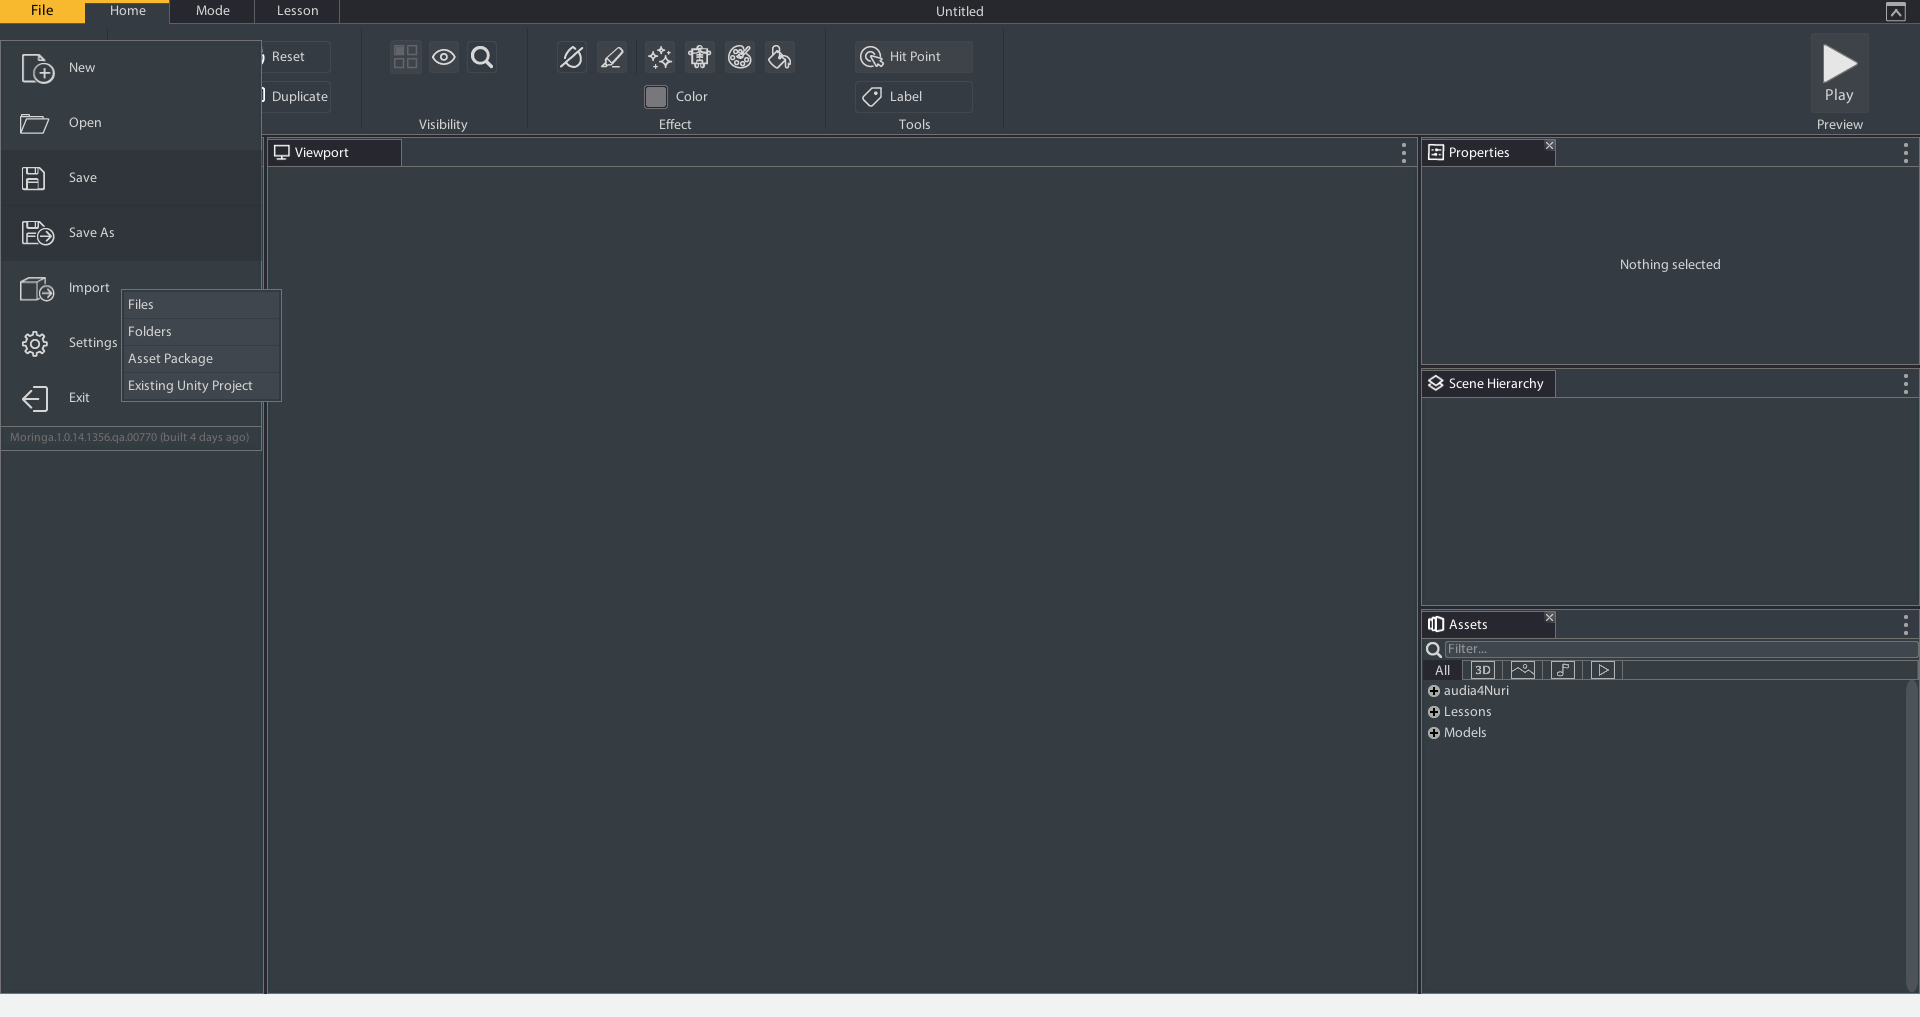
- Click File > Import. There are four options
- Files: Import individual files from your file system. You can multiselect individual assets to import at the same time using ctrl or shift.
- Folders: Import a whole folder of assets from your file system.
- Asset Package: Import a whole asset package from your file system.
- Existing Unity Project: Import a unity project.
- Navigate to the model asset you want to make a lesson with and select Open.
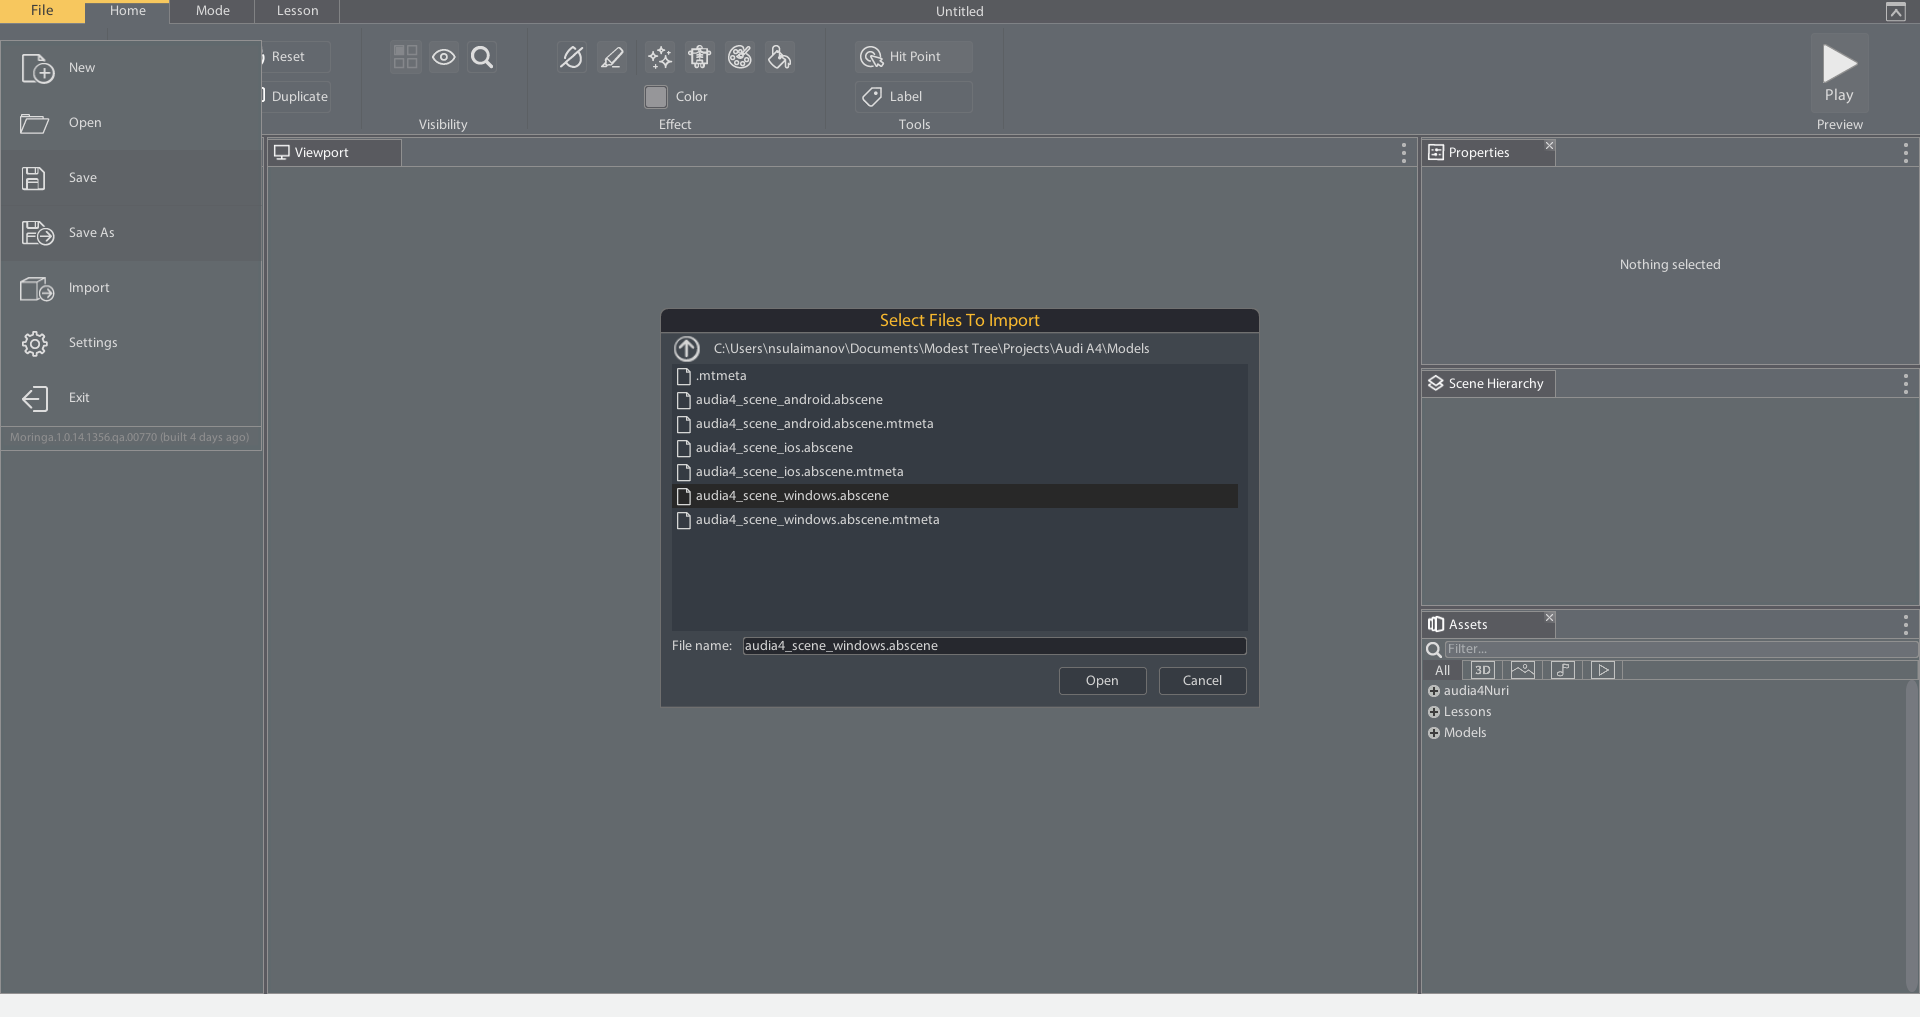
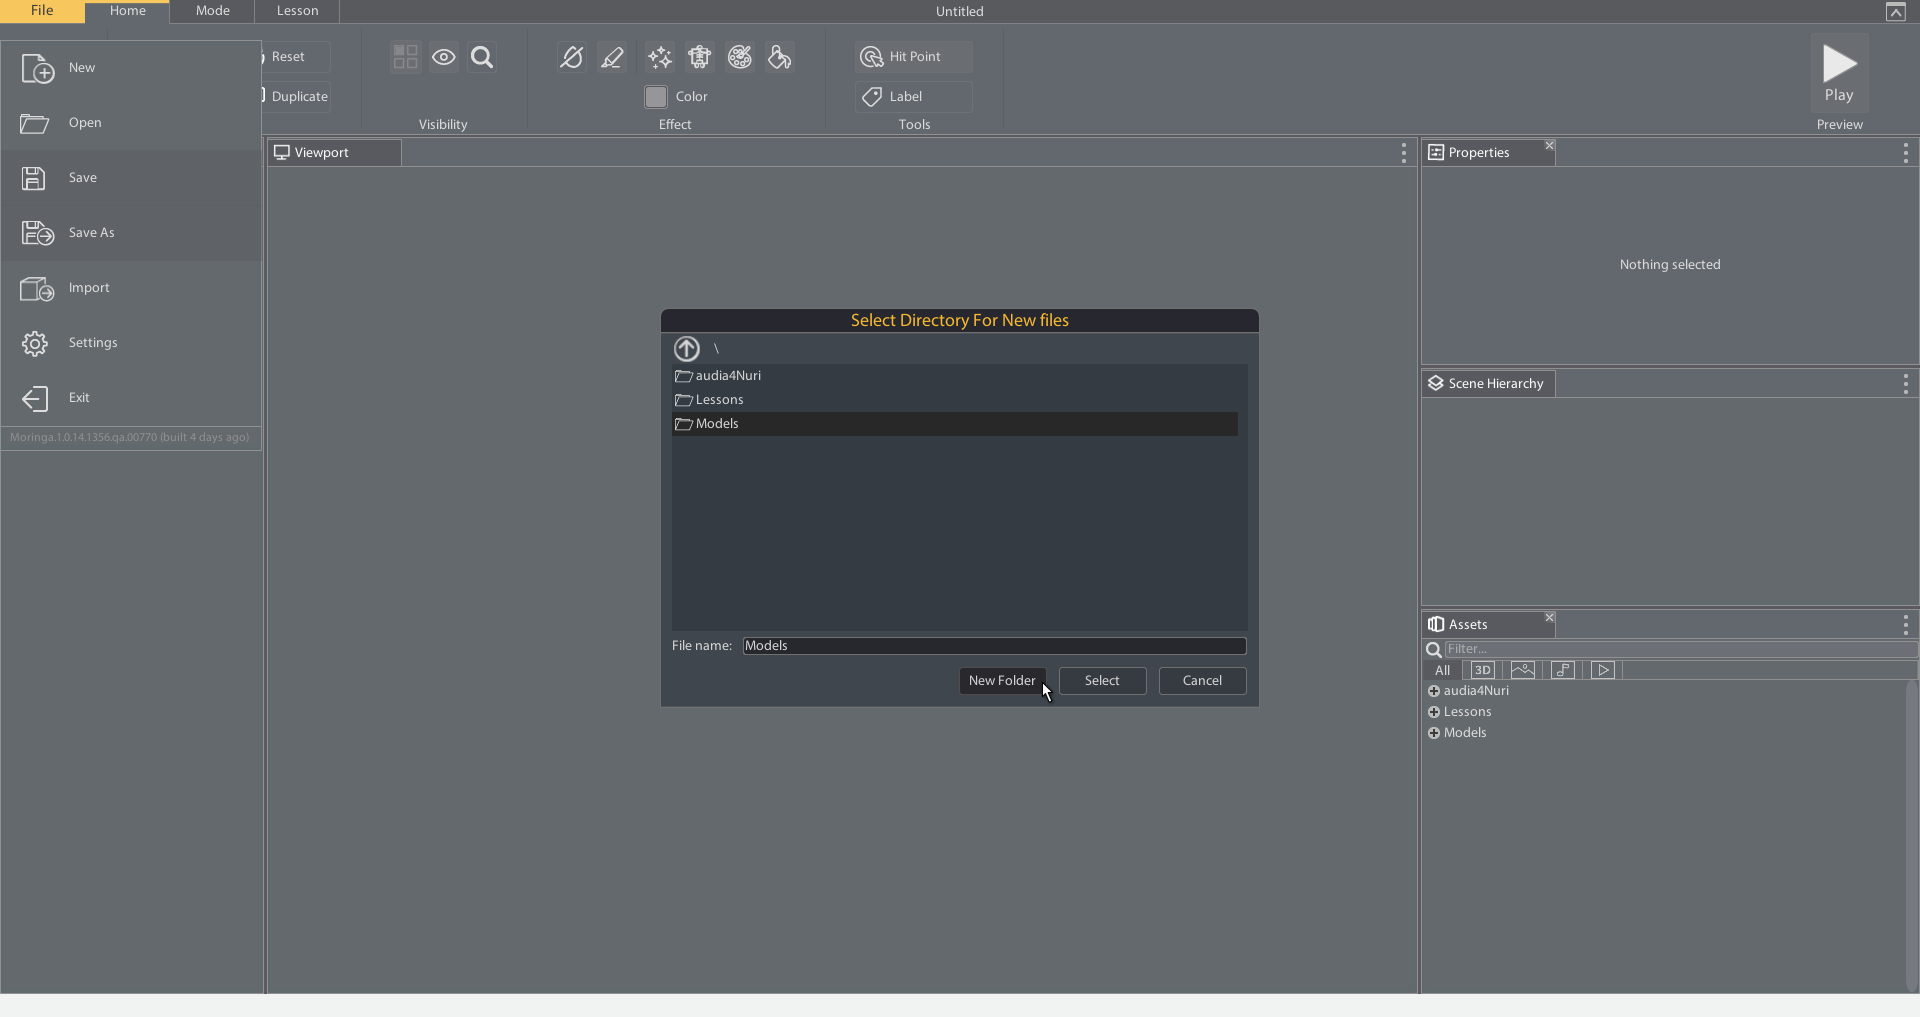
- Choose or create a folder to save the asset to in your project and click Save. You can import your other assets (image, videos, audio) the same way.
- Click File > New.
- Select the imported model and click 'Create', a new lesson will be created with this model.
Next: Moving the Camera